A rain garden is a shallow planted basin designed to capture stormwater runoff from roofs, driveways, walkways, and other hard surfaces, temporarily holding the water so it can slow down, filter through soil and vegetation, and infiltrate where site conditions allow.
Unlike a pond or a permanently wet area, a rain garden is designed to drain between storms. Its success depends on more than choosing water-tolerant plants: soil infiltration, slope, drainage area, distance from structures, basin depth, inlet design, and a safe overflow route all affect whether the system will work properly.
This guide explains what a rain garden is, how it works, its main benefits, where to put one, where to avoid placing one, how soil and slope affect performance, how to handle downspouts and sizing, and what to know about drainage, mosquitoes, maintenance, and overflow before creating one.
What Is a Rain Garden?
A rain garden is a landscaped area designed to receive and temporarily hold stormwater runoff. It’s typically a shallow depression — usually four to eight inches deep — planted with species that can handle alternating wet and dry conditions, and positioned between an impervious surface and wherever water would otherwise flow unchecked.
Impervious surfaces include roofs, concrete, asphalt, and compacted areas that prevent rainfall from soaking in where it lands. During a storm, water moving across those surfaces can pick up sediment, fertilizer residue, oil, pet waste, and other pollutants on its way to storm drains or waterways.
A rain garden intercepts part of that path. Rather than sending all runoff directly away from the property, it gives water a place to collect, filter through soil and roots, and infiltrate when conditions allow. The actual performance depends on soil type, garden design, storm size, and how well the system is maintained over time.
How Does a Rain Garden Work?
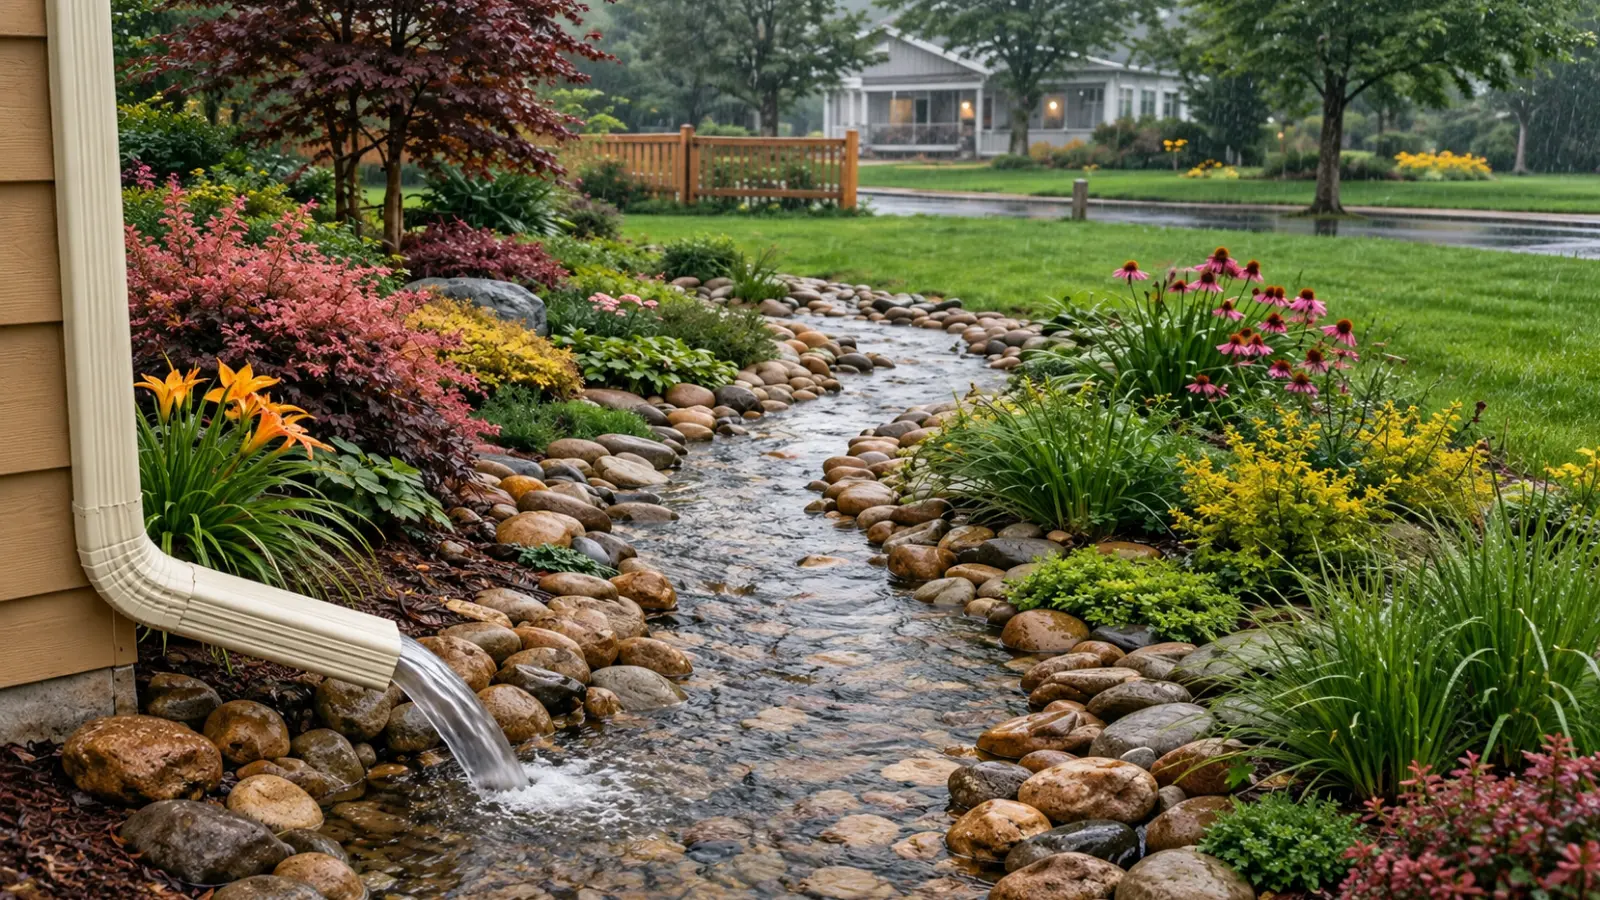
The mechanics are straightforward, and that’s part of what makes a well-designed rain garden so useful. Water flows in, ponds briefly, and drains away — either through the soil or via a controlled overflow route.
- Rain falls on a roof, driveway, walkway, or other drainage surface.
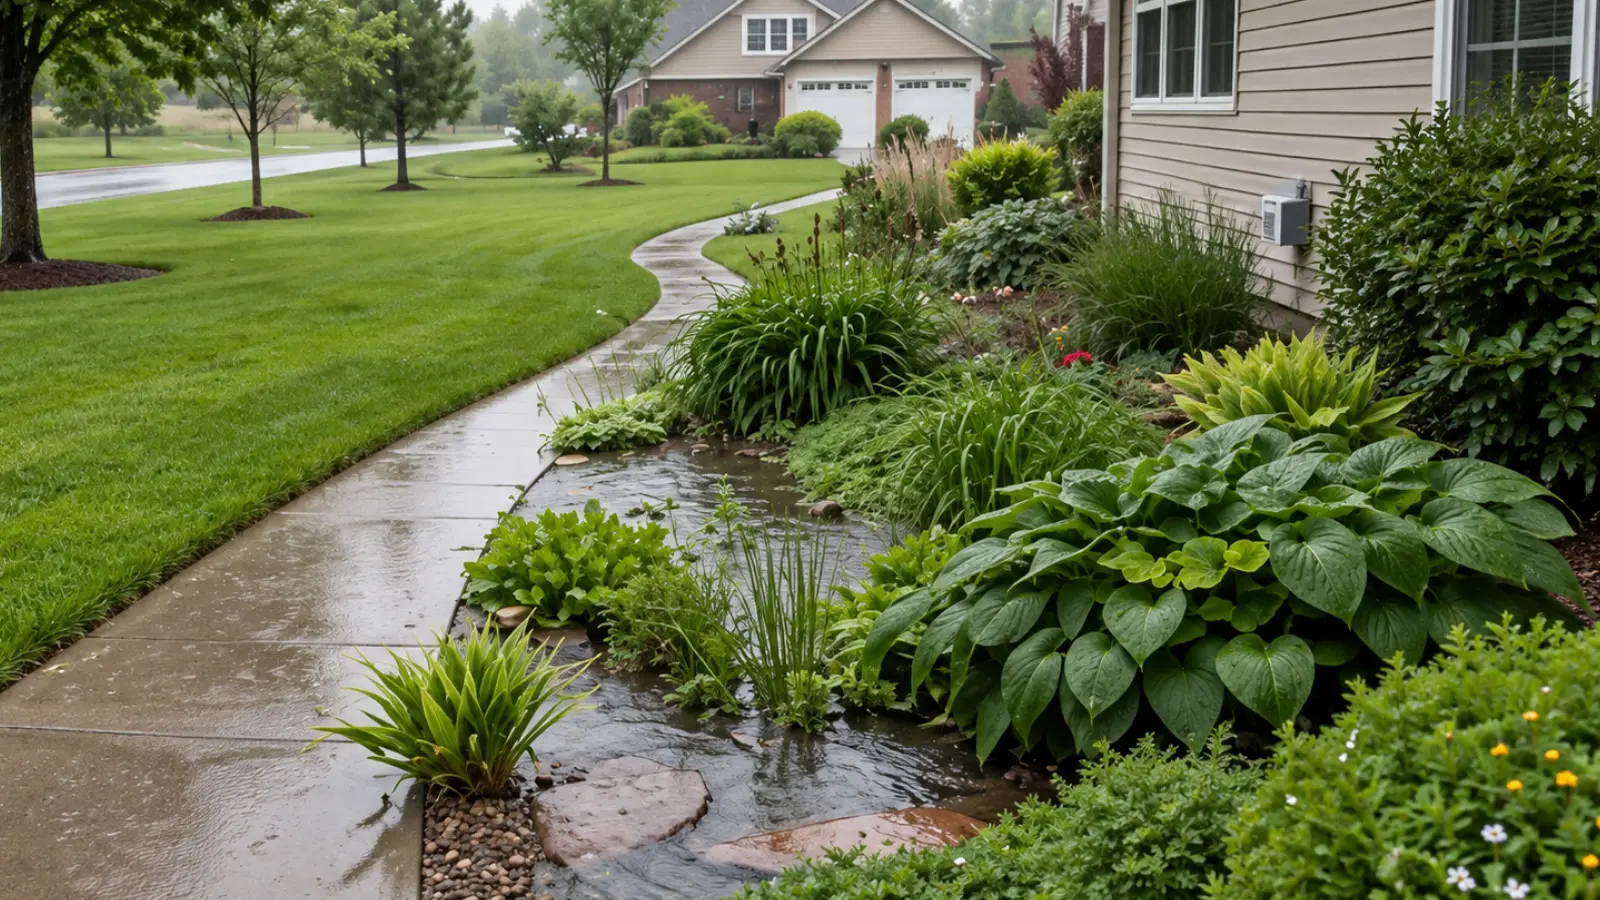
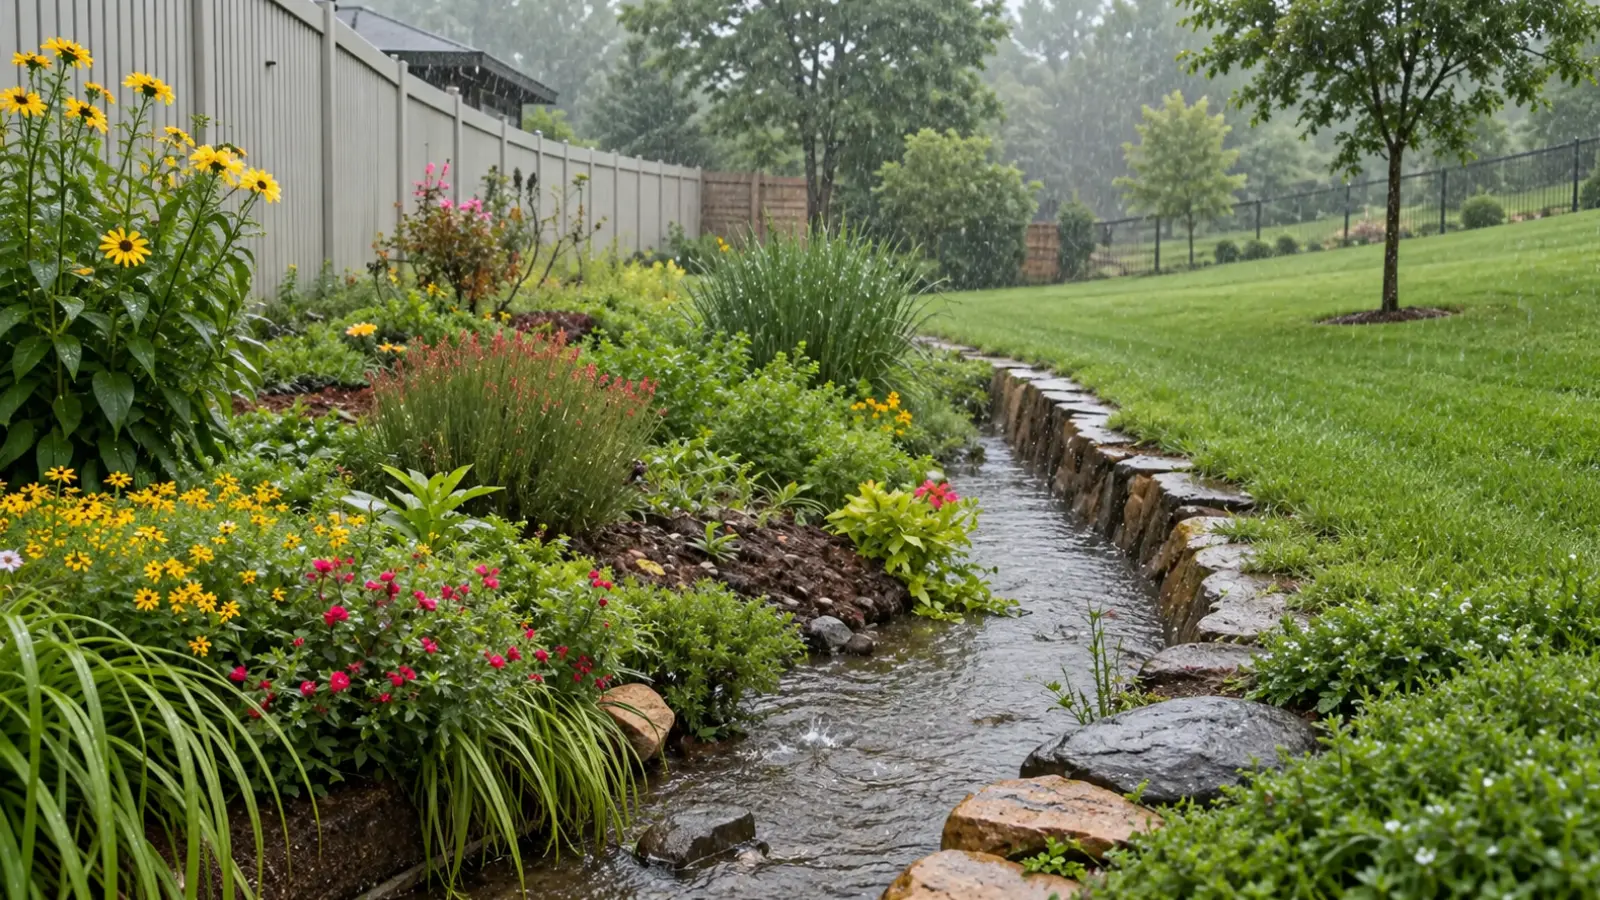
- Runoff travels through a downspout, shallow swale, pipe, or graded surface toward the garden.
- Water enters the shallow basin and temporarily ponds.
- Plants, mulch, and soil slow the flow and trap some sediment and pollutants.
- Water infiltrates through the planting area into the soil below when drainage conditions allow.
- An overflow route carries excess water safely away during larger storms that exceed the basin’s capacity.
Think of it less as a flower bed in a low spot and more as a small, intentional stormwater system. Its success depends on the relationship between the drainage area sending water in, the basin receiving it, the soil draining it, and the overflow managing whatever’s left over.
What Are the Benefits?
A well-sited rain garden can do several things for a property and the broader watershed — but the benefits follow from sound design and site selection, not from the garden’s existence alone.
Slower Runoff
Plants, mulch, and the basin itself slow water as it moves across the property. That reduced velocity can lessen erosion on the property and lower the sudden surge of flow entering a storm drain after heavy rain — which matters most in urban and suburban areas where impervious surface area is high.
More Infiltration
When soil drains adequately, water soaks into the ground rather than leaving the property immediately as runoff. This partially restores the natural water cycle that paving and compaction disrupt — helping recharge groundwater and reducing the volume flowing downstream.
Some Pollutant Filtering
Soil and plant roots can capture or transform some sediment, nutrients, and other pollutants in runoff. This filtering is real but partial — a rain garden isn’t a substitute for professional treatment of contaminated water, and its effectiveness depends on soil depth, plant density, and how fast water moves through.
Habitat and Seasonal Interest
Native plants suited to the wet-dry cycle of a rain garden naturally attract pollinators, birds, and beneficial insects. Species like cardinal flower (Lobelia cardinalis), swamp milkweed (Asclepias incarnata), blue flag iris (Iris versicolor), and Joe-Pye weed (Eutrochium maculatum) are commonly recommended across many U.S. regions and provide long-season interest while tolerating fluctuating moisture. Plant selection should be based on your specific region and the moisture zones within the basin.
Reduced Pressure on Storm Drains
By holding and infiltrating part of the runoff from a smaller drainage area, a rain garden can reduce peak flow during routine storms. It’s not a flood control measure for extreme rainfall events, and it shouldn’t be treated as one — but as part of a broader approach to stormwater management, even a modest rain garden adds up.
Where Do Rain Gardens Work Best?
The best location is somewhere runoff can reach safely, the soil can accept water without creating a new drainage problem, and overflow can be directed away from structures and neighboring properties. Finding that spot requires watching how your property actually behaves during and after rain — not just how it looks on a dry day.
Suitable locations often include:
- A lawn area at least 10 feet from the house, below a roof downspout
- A gently sloped section of the yard with less than 12% grade
- A low point that receives clean surface runoff, with room for an overflow route
- A planting area between a paved surface and an open lawn
- A site where runoff can be redirected without crossing a walkway or entering a neighbor’s yard
Watch the property during and after a real rainstorm before deciding. Note where water enters, where it exits, and how long an area stays wet. A site that looks promising during a light rain may be poorly suited if it remains saturated for days — that’s often a sign of a high water table or naturally slow drainage.
Where Should a Rain Garden Not Go?
A wet spot in the yard isn’t automatically a rain garden candidate. Some wet areas are symptoms — of a high water table, a drainage problem, a leaking pipe, or water moving toward a foundation. Installing a rain garden there can make things worse.
Avoid placing one:
- Within 10 feet of a house foundation or other structure with a basement or crawlspace
- Over a septic system or drain field (stay at least 25 feet away)
- Near a private drinking water well — check local requirements for required setbacks
- Where groundwater is already close to the surface, or where soil stays saturated for more than 24 hours after a normal rain
- On a slope greater than 12% without professional design help
- Where overflow would flow toward a building, a neighboring property, or a road
- Over buried utility lines — always call 811 before digging
- Within the drip line of mature trees, where roots will eventually interfere with drainage
Local regulations may also govern stormwater connections, excavation setbacks, and drainage changes. It’s worth checking with your municipality or local Extension office before redirecting concentrated runoff, especially if you’re near a wetland, easement, or shared drainage system.
Why Soil and Infiltration Matter
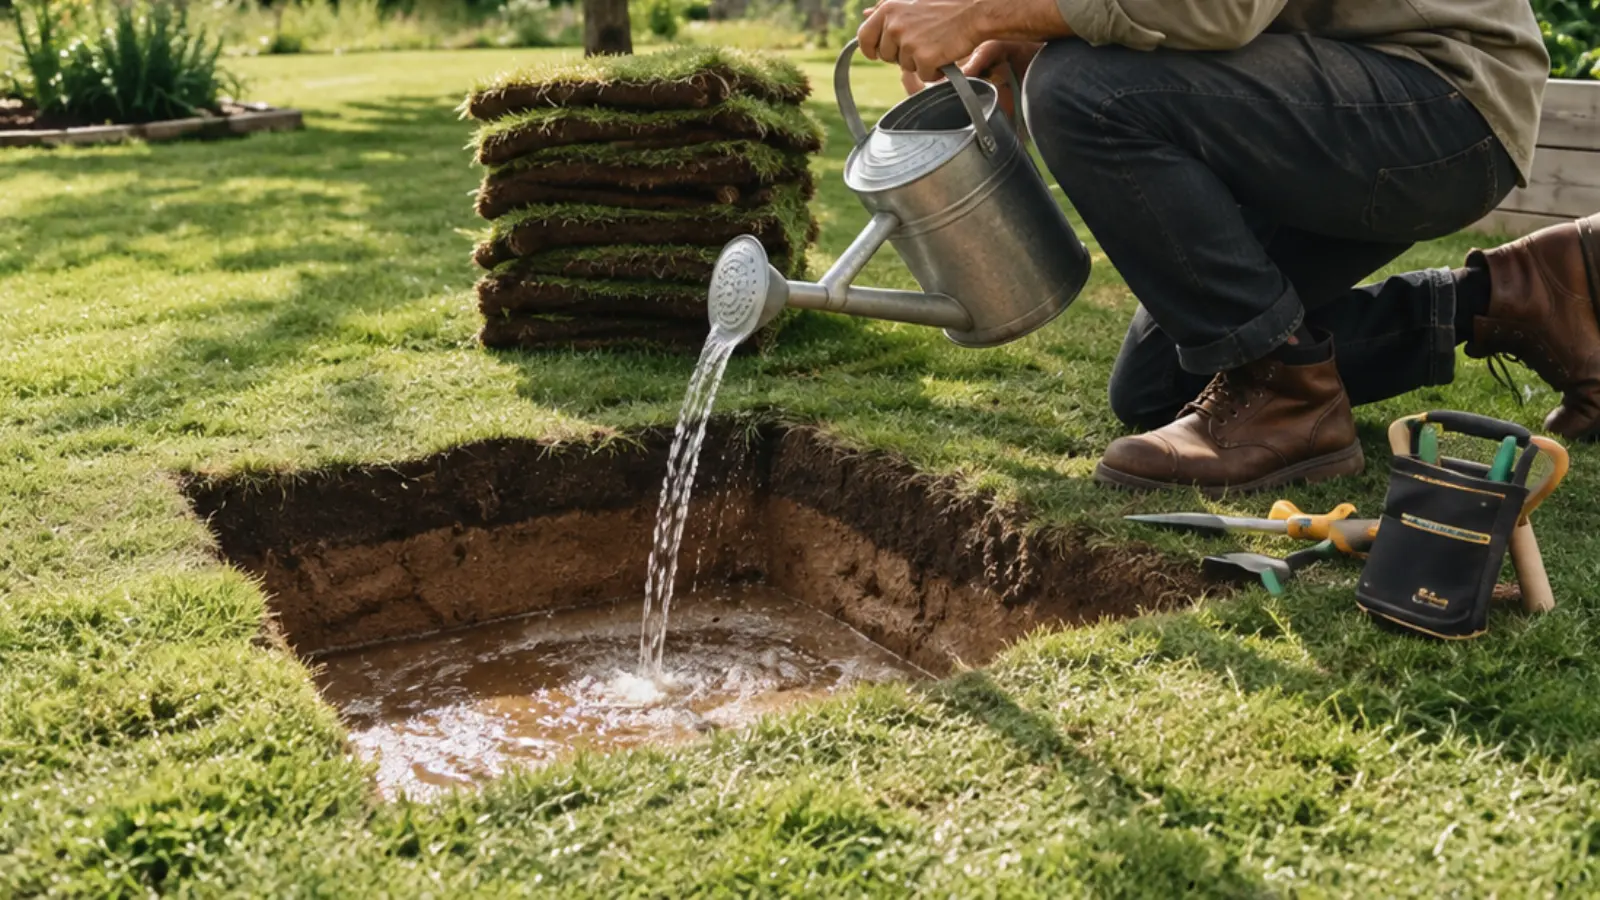
Infiltration — the movement of water from the rain garden basin into the soil below — is what the system depends on. If the soil drains too slowly, the basin stays full too long, plant roots stay saturated, and the garden risks becoming a persistent wet area rather than a functional stormwater feature. If it drains too quickly, water moves through before much filtering or storage can occur.
A simple percolation test gives you real information before you dig. The method recommended by most Extension guides: dig a hole about 12 inches deep and 12 inches wide in the proposed location, fill it with water, let it drain completely (this saturates the surrounding soil), then fill it again and time how long the water takes to drain. Ideally, the hole should drain within 24 hours. If it drains within 6 hours, the site is well-suited. Sites where water remains after 24 hours likely need soil amendment or a different location.
Clay-heavy, compacted, or layered soils may drain too slowly for a conventional rain garden. Sandy soils drain quickly but may need amendment with compost to support plant growth. Even apparently loose soil can have a compacted layer underneath — especially on properties with newer construction, where a thin layer of topsoil often sits above heavily compacted subsoil. Loosening the bottom of the excavation and mixing in compost can improve drainage significantly in those cases.
Test the soil at the intended depth, and in more than one location on larger sites. Interpret the results alongside what you know about the site’s seasonal moisture and local Extension guidance for your region.
Rain Gardens and Slopes
Slope affects both where the garden goes and how deep it needs to be. A gentle grade helps move water toward the basin; too steep a grade sends water through too fast, risks eroding the inlet, and makes it much harder to create a level basin.
The widely cited guideline from the University of Wisconsin–Extension and adopted by most state Extension programs sets 12% as the practical upper limit for a DIY rain garden. Beyond that, the earthwork needed to level the basin becomes complex and the erosion risk increases. The slope also determines the appropriate basin depth:
- Less than 4% slope: 3 to 5 inches deep
- 5 to 7% slope: 6 to 7 inches deep
- 8 to 12% slope: approximately 8 inches deep
- Greater than 12%: choose a different site, or consult a landscape professional
The slope above the rain garden also matters — a large area draining toward the basin adds more runoff than a roof downspout alone. If the garden is more than 30 feet from the downspout, account for any lawn area that will drain toward it as well. On any sloped property, never assume placing a rain garden downhill solves a drainage problem without also confirming that overflow has a safe route away from structures.
Using Roof Downspouts
Roof downspouts are the most common runoff source for residential rain gardens, and they’re a good starting point because the drainage area is easy to calculate. A single downspout can discharge to a shallow swale, an extension, a buried pipe, or a stabilized entry point that leads to the basin.
The connection should spread water across a wider entry point rather than creating a concentrated jet that erodes the soil. A stone-lined inlet, splash pad, or level spreader works well depending on the volume and speed of the flow. Without some kind of energy dissipation at the entry point, even a moderately sized downspout can carve a channel through mulch and soil over time.
Keep gutters clean and inspect the connection seasonally. Leaves, roof sediment, and debris can clog the inlet or reduce the garden’s capacity before you notice. If your roof has copper components, treated wood, or other materials that may leach contaminants, check local guidance before directing that runoff into a planted infiltration area — some materials can affect soil chemistry over time.
Rain Garden Sizing
Sizing a rain garden involves more than eyeballing the yard. The calculation accounts for the impervious area draining to the garden, the soil’s infiltration rate, and the ponding depth the basin can hold. Get those inputs right, and the garden handles ordinary storms without overflowing. Get them wrong, and you’ll either undersize the basin (frequent overflow, erosion) or oversize it (unnecessary excavation, slow-draining wet area).
As a starting point, most Extension programs recommend sizing the rain garden at roughly 20% of the drainage area feeding it for average loamy soils — so a 500-square-foot roof section would call for approximately a 100-square-foot garden. Sandy soils that drain quickly can support a smaller garden; clay soils that drain slowly may need one closer to 30% of the drainage area. The University of Connecticut’s NEMO program offers a simpler rule of thumb: divide the drainage area by 6 to get the garden area needed to hold one inch of runoff in a six-inch-deep basin.
Typical residential rain gardens run 100 to 300 square feet, according to the Wisconsin Department of Natural Resources — large enough to provide meaningful stormwater management, manageable enough to dig and plant without heavy equipment. Very small gardens (under 75–100 square feet) offer limited plant variety and storage capacity; very large ones become difficult to keep level and well-planted.
For a more precise calculation, use the sizing guidance from your local Extension office or municipality — methods vary slightly by region, and local rainfall patterns affect what makes sense. The garden should drain completely within 24 to 48 hours after a storm. If water routinely sits longer than that, the cause needs to be found and corrected: inadequate infiltration, excessive inflow, poor grading, or a soil problem beneath the surface.
Do Rain Gardens Attract Mosquitoes?
This is one of the most common questions — and the answer, for a properly designed garden, is no. Mosquito larvae require standing water to complete their life cycle, but the larvae and pupal stages together take anywhere from 7 to 12 days depending on species and temperature. A rain garden designed to drain completely within 24 to 48 hours simply doesn’t give them enough time.
Mosquito concerns arise when something goes wrong: the basin stays full because soil drainage is inadequate, the inlet gets clogged, or the garden is receiving more runoff than it was designed for. In those cases, the fix is correcting the drainage problem — not abandoning the garden. Persistent ponding beyond 48 hours is a signal that something needs attention, and it’s worth investigating the cause before the next growing season.
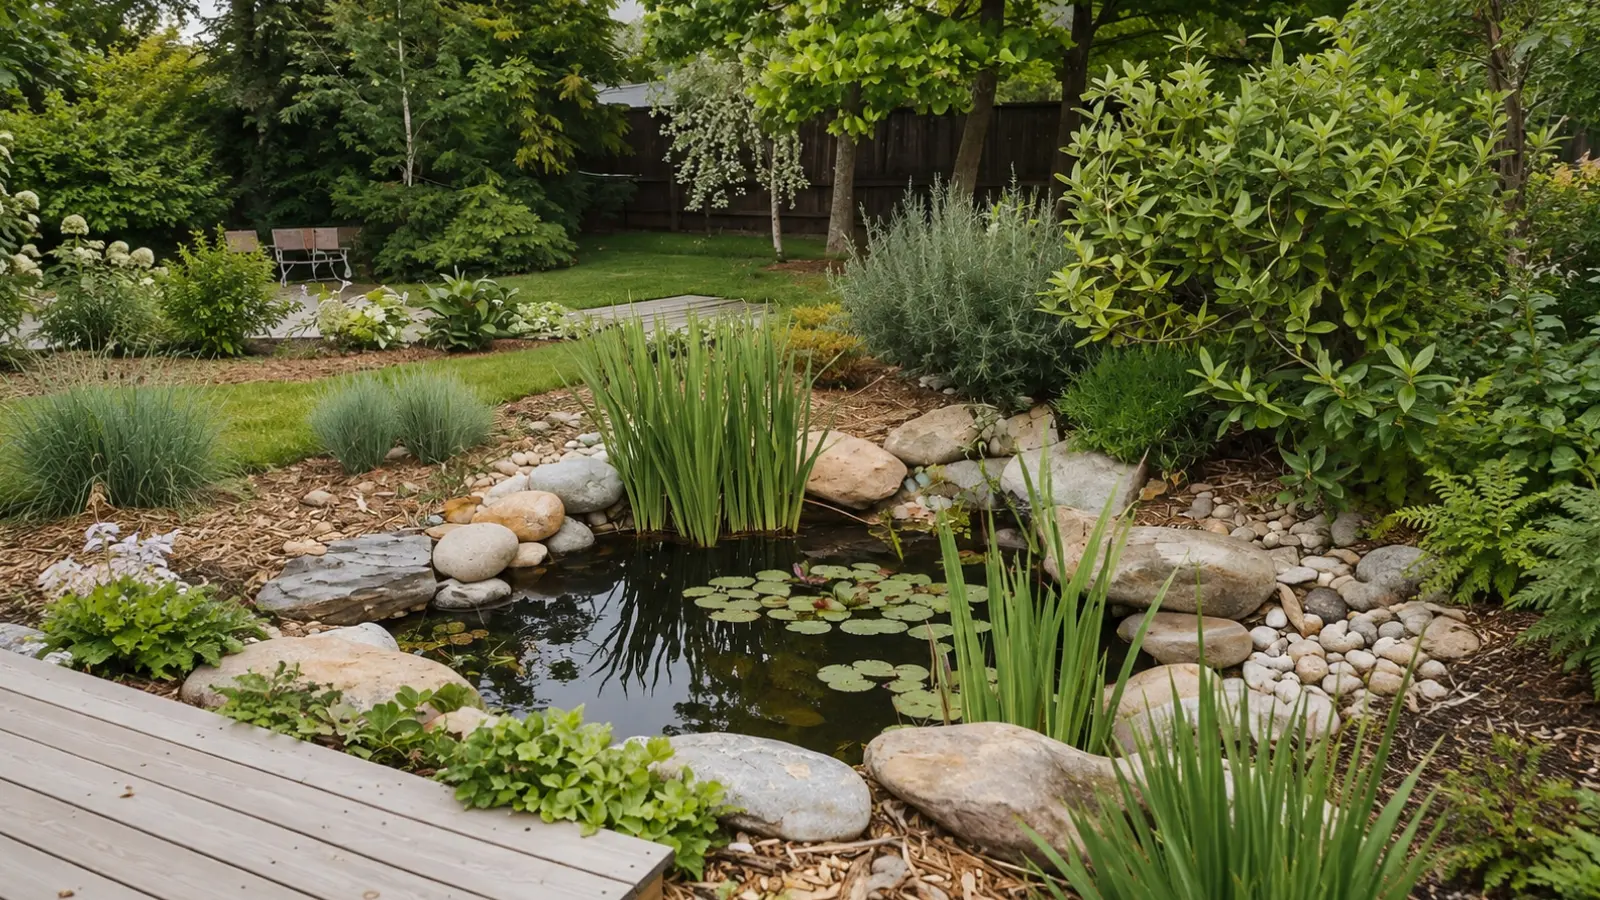
The practical distinction between a rain garden and a pond matters here. A pond is designed to retain water; a rain garden is designed for temporary storage and infiltration. When the design works as intended, the basin is dry most of the time.
Safety and Overflow
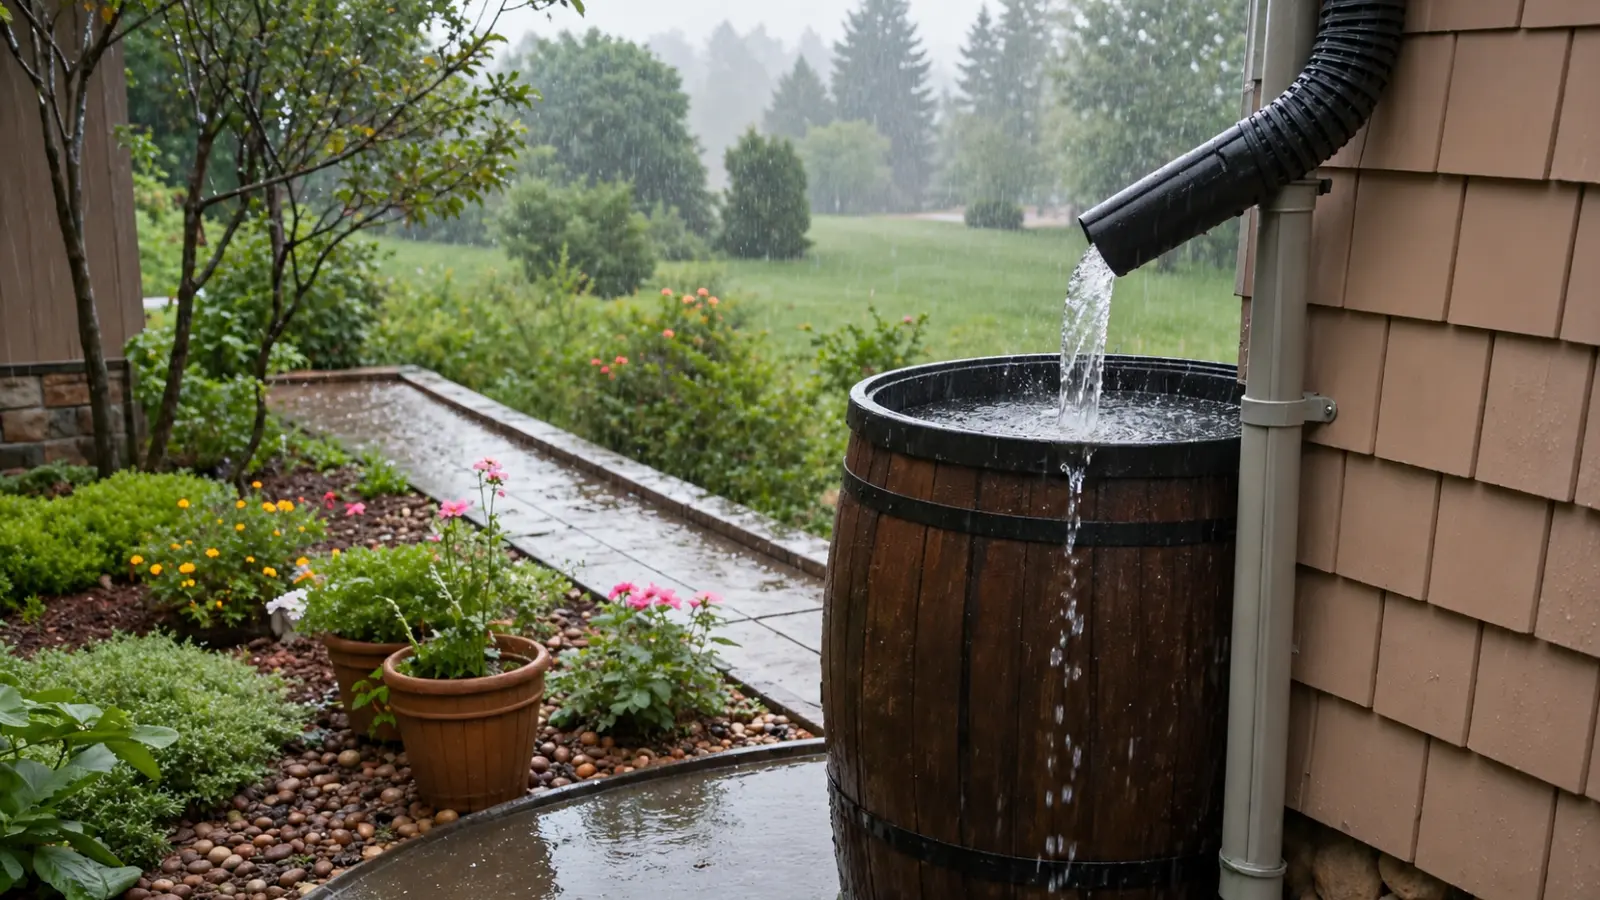
Every rain garden needs a planned overflow route — designed in from the start, not added as an afterthought. A large storm will eventually exceed the basin’s capacity, and water has to have somewhere to go that doesn’t threaten a foundation, basement, path, road, or neighboring property.
The overflow outlet is typically set at the level of the maximum ponding depth, so water exits in a controlled way before it can rise above the berm. A stabilized spillway — compacted soil topped with stone or cobble — handles the outflow without erosion. The overflow route itself should be graded to carry water away from structures and, ideally, toward a pervious area like a lawn rather than a storm drain.
Keep the basin visible from the house when possible, especially if children or pets use the yard. Avoid sharp rocks, deep areas, and unstable edges. If the garden is near a walkway or play area, a clearly defined border and stable surface around the edge help mark the transition. And because rain gardens are designed to receive and move water, keep pesticide and fertilizer use within the basin to an absolute minimum — whatever you apply there is likely to move with the water.
Rain Garden Design Overview
A rain garden can look naturalistic, formal, or much like an ordinary perennial bed. The aesthetic is flexible; the functional components are not. Each part of the system has a job, and leaving any of them out creates problems downstream.
- Drainage area: the roof section, pavement, or landscape surface sending runoff toward the garden — defines how much water the system needs to handle.
- Inlet: the stabilized entry point where runoff enters the basin; designed to spread flow and prevent erosion.
- Basin: the shallow, level depression where water temporarily ponds — typically four to eight inches deep.
- Planting soil: the growing medium that supports plants and contributes to infiltration; may need amendment depending on native soil conditions.
- Vegetation: plants selected for the site’s wet-to-dry cycle, with species matched to the wetter center zone and drier edges.
- Overflow: a stabilized, graded spillway that carries water safely away when the basin reaches capacity.
Construction details, measurements, and plant selection are site-specific enough to deserve their own treatment — and they depend on the results of a soil test, a slope measurement, and an honest accounting of the drainage area. The first decision is whether the site can support a rain garden at all.
Maintenance
A rain garden needs the most attention in its first year, while plants are establishing. Water new plants regularly during dry spells — most sources recommend about one inch of water per week during establishment — and pull weeds before they get a foothold. Native plants tend to need little help once they’re established, but the first growing season is the one that matters most.
After storms, do a quick inspection: look for erosion at the inlet, sediment buildup, areas staying wet longer than expected, and anything blocking the overflow. Small problems caught early are easy to fix; ignored, they reshape the basin and undermine the planting.
Seasonal cleanup should follow both the plants and the drainage function. Remove material blocking the inlet or overflow, but leave stems, seed heads, and leaf litter in place where they provide wildlife habitat and don’t impede water flow. Cutting everything down in fall may feel tidy, but it eliminates overwintering habitat that native plantings are specifically chosen to support.
Keep fertilizer and pesticide use within the basin minimal. Rain gardens are designed to collect and move water — anything applied to the planting area may travel with it.
Start With the Site, Not the Plants
A successful rain garden begins with understanding how water already moves across the property. Before choosing plants or deciding on a shape, identify the runoff source, observe drainage after rain, evaluate the soil and slope, and make sure excess water has a safe route away from buildings and neighboring property.
Once those functional conditions are right, the planting design can follow. A well-planned rain garden can manage part of a property’s runoff while creating an attractive planted area, but the location, infiltration rate, basin size, and overflow plan are what determine whether it performs as intended.
COMMON QUESTIONS
Before you begin.
What is a rain garden and how does it work?
A rain garden is a shallow planted depression designed to capture stormwater runoff from roofs, driveways, walkways or other surfaces. Water temporarily collects in the basin, where plants, mulch and soil slow the flow and help filter sediment and pollutants before the water infiltrates into the ground. Excess water should leave through a planned overflow route during larger storms.
Where is the best place to put a rain garden?
Choose a location downslope from the runoff source where water can enter safely, the soil drains adequately and overflow can move away from buildings and neighboring properties. Keep the garden at least 10 feet from a house foundation, avoid septic systems and buried utilities, and generally choose flat to gently sloping ground with less than a 12% grade.
How big should a rain garden be?
Rain garden size depends on the amount of impervious surface draining into it, the soil’s infiltration rate and the basin depth. As a rough starting point, a garden in average loamy soil may be about 20% of the drainage area feeding it, although sandy or clay soils can require different sizing. Residential rain gardens commonly range from about 100 to 300 square feet, but local sizing guidance should be used for the final design.
How long should a rain garden hold water?
A properly functioning rain garden should usually drain completely within 24 to 48 hours after a storm. Water that remains longer can indicate slow infiltration, excessive runoff, poor grading, a clogged inlet or another soil or drainage problem. Testing soil infiltration before construction helps determine whether the site is suitable.
Do rain gardens attract mosquitoes?
Not when they drain as intended. Mosquito larvae need standing water for substantially longer than the 24 to 48 hours a properly designed rain garden should hold water. Persistent ponding beyond that period is a sign that the drainage system needs to be evaluated rather than a normal feature of a rain garden.
What plants are best for a rain garden?
Choose plants that tolerate both temporary flooding and dry periods between storms while also matching your region, sunlight and soil conditions. Plants in the lowest part of the basin should tolerate the wettest conditions, while plants toward the sides and edges can prefer progressively drier soil. Regionally appropriate native species are often useful because they can provide habitat while adapting well to local growing conditions.