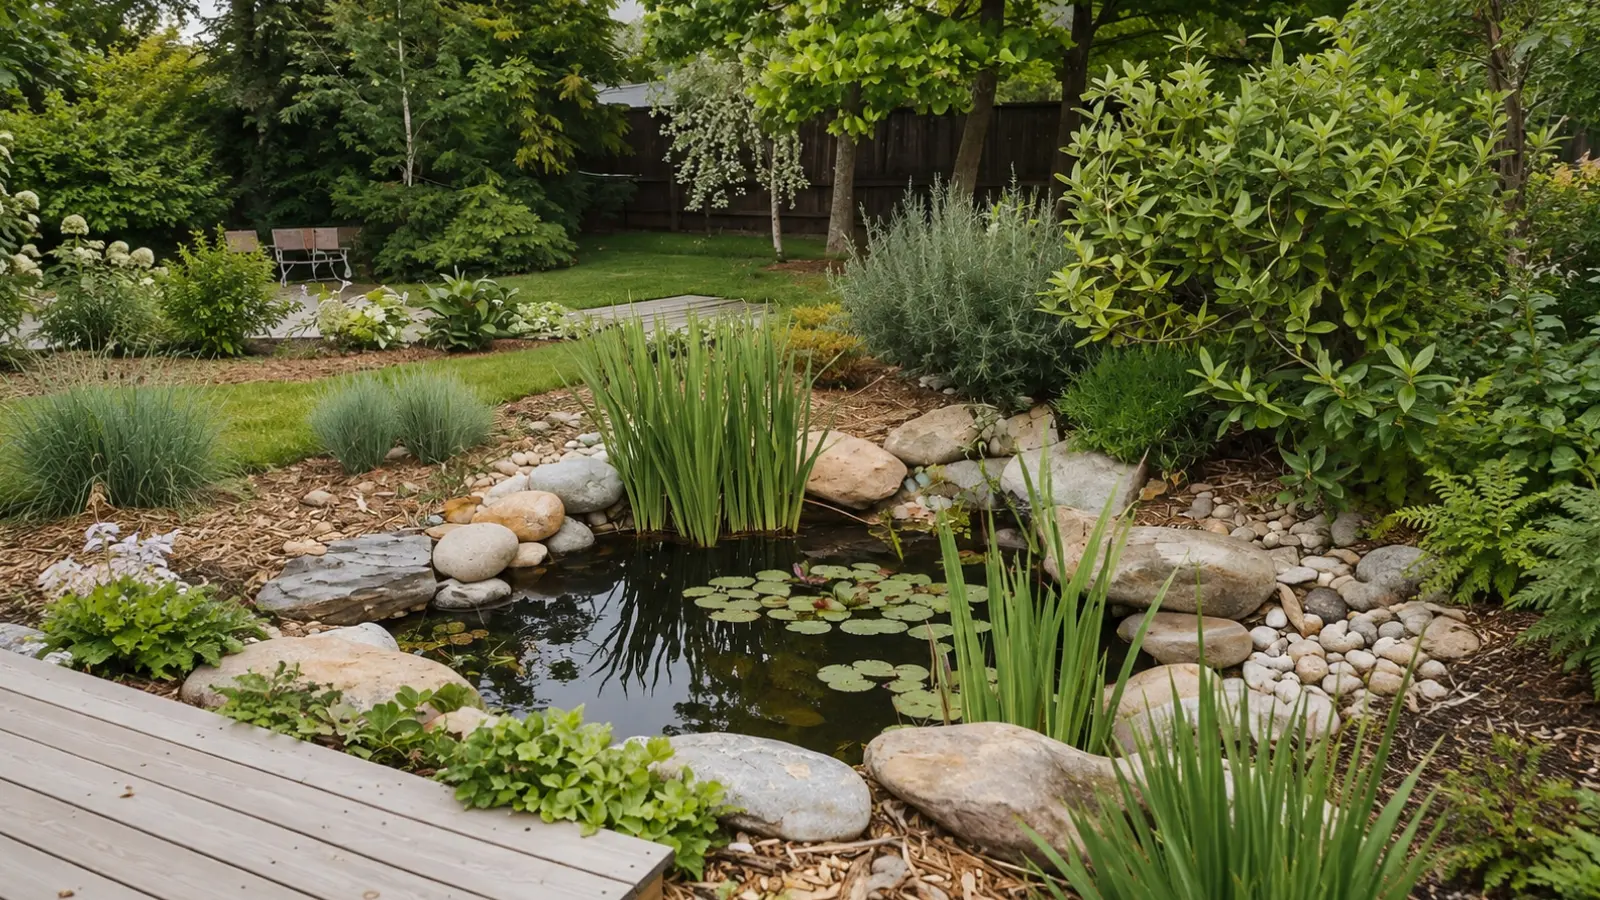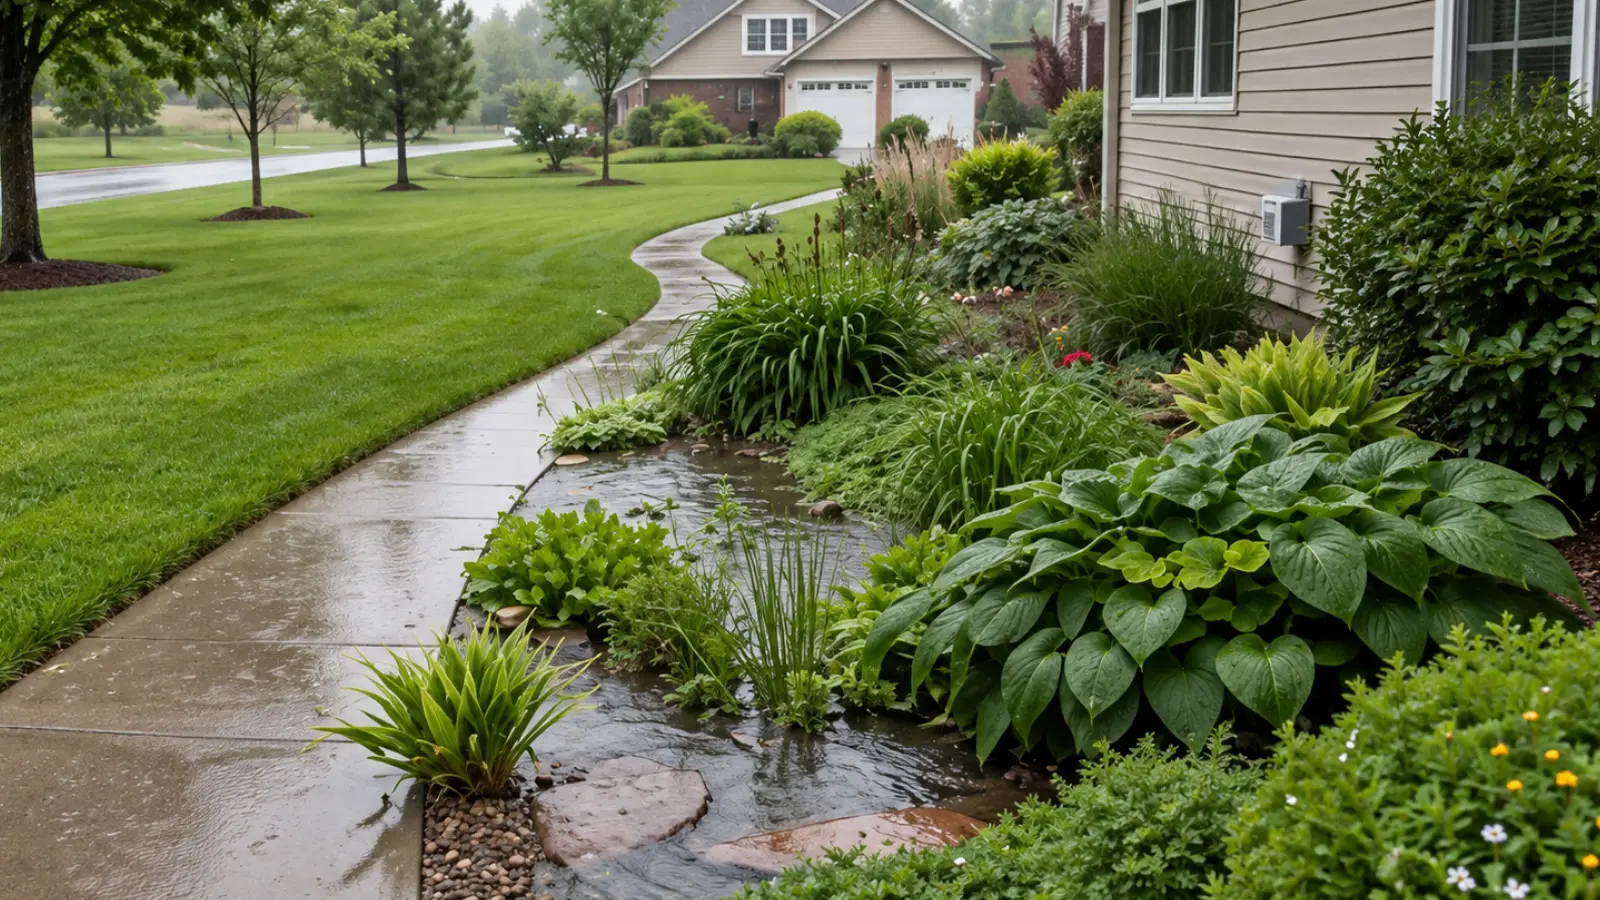
Rain garden design starts with understanding how water moves across the site. Before choosing plants or digging a basin, you need to identify the runoff source, test how quickly the soil drains, estimate how much water the garden will receive, and determine where overflow can safely go.
A functional rain garden combines several parts: a level basin, a stable inlet, suitable soil, planting zones matched to changing moisture conditions, and a controlled overflow route. The shape and planting style can vary, but those functional elements determine whether the system performs properly.
This guide explains how to plan and build a residential rain garden, including site selection, soil testing, sizing, depth, inlets, berms, excavation, soil amendments, planting zones, overflow, construction sequence, and the design mistakes to avoid.
Start With a Site Plan
Walk the property during and after rain before choosing a location. Trace water from the roof, driveway, walkway, compacted lawn, or other surface, and note where it collects, accelerates, or leaves the property.
Mark the proposed basin, the drainage area feeding it, the route to the inlet, and the route for overflow. Also locate foundations, septic systems, wells, buried utilities, large tree roots, property lines, and areas that stay wet for an extended period after rain.
Call 811 before any excavation to have utilities marked for free — it takes one call and avoids a potentially serious mistake. Also check with your municipality before redirecting concentrated runoff. Local rules may affect setbacks, drainage connections, and changes to stormwater flow.
Select the Right Location
The best rain garden location is generally a gently sloped or nearly level area where runoff can arrive safely and the soil can accept water. A low point can work well, but only if it isn’t permanently saturated and doesn’t drain toward a structure.
Keep the basin at least 10 feet from any foundation with a basement or crawlspace — closer than that and infiltrating water can cause moisture problems at the wall. Stay at least 25 feet from a septic system or drain field. Also avoid installing within the drip line of mature trees, where roots will eventually interfere with drainage and compete with new plantings.
Don’t use a rain garden to mask a wet basement, a leaking downspout, or a broken drainage pipe. Correct the source first. A basin that receives water continuously will never behave like a rain garden designed for temporary stormwater — it becomes a permanently wet area that’s hard to plant and harder to fix.
Test Soil Drainage
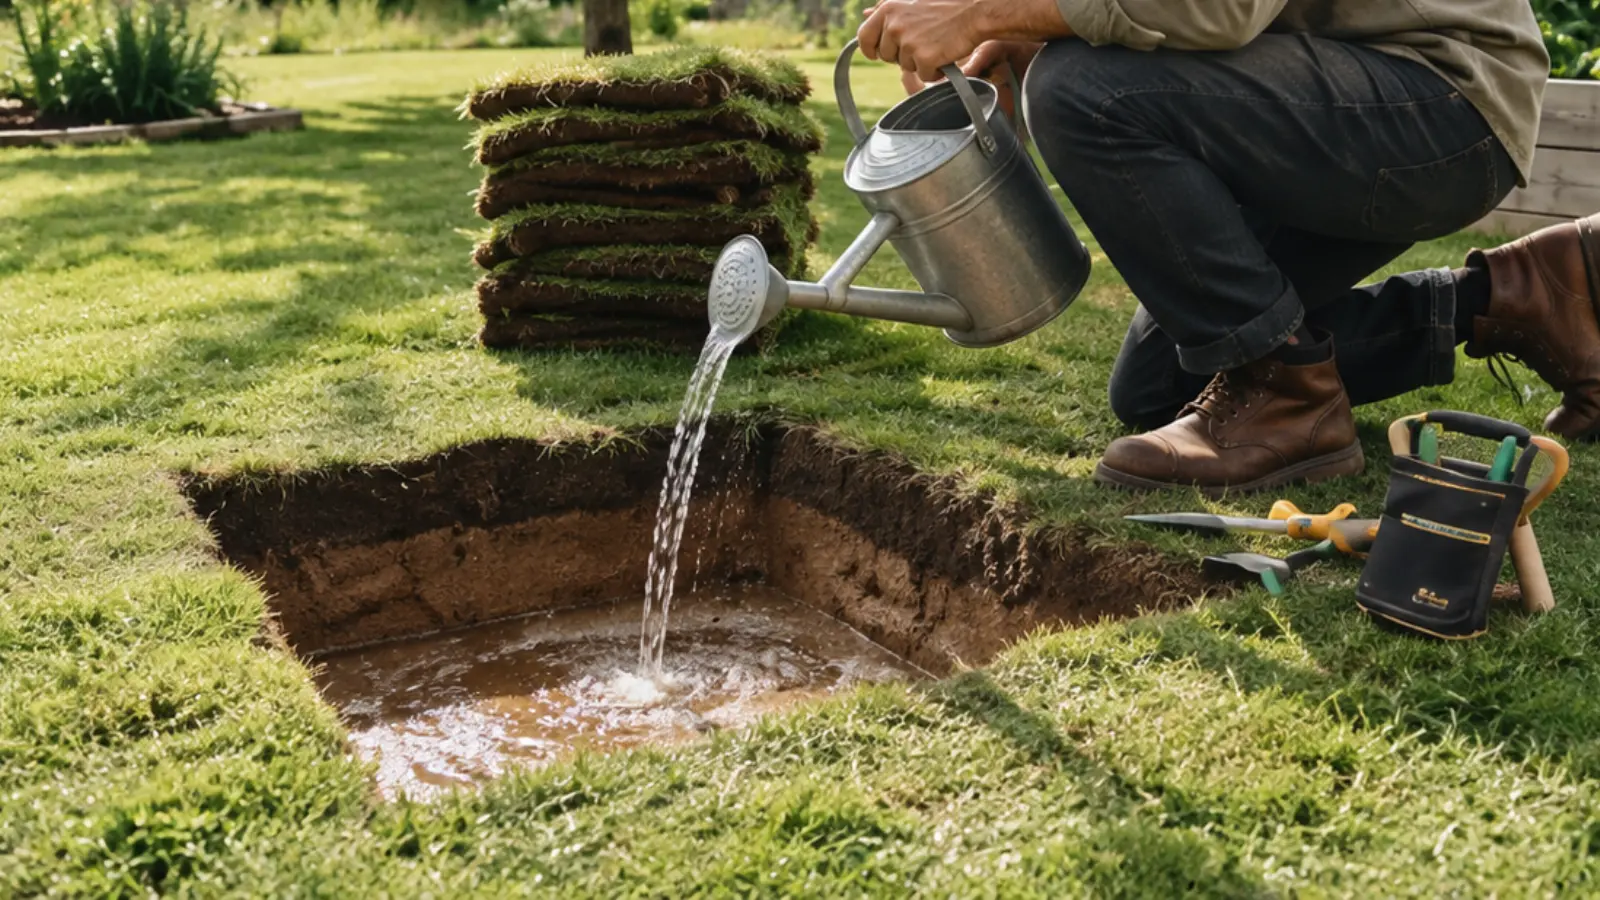
Drainage testing is one of the most important steps in rain garden design, and it should happen before you sketch a shape or buy a single plant. Soil that looks workable on the surface may have a compacted layer just a few inches down that drains poorly.
The standard method used by most Extension programs: dig one or more test holes to the intended basin depth (typically 6 to 8 inches), fill each hole with water, and let it drain completely to saturate the surrounding soil. Fill it again and measure how long the second fill takes to drain. Test in more than one spot if the soil appears inconsistent across the site.
A site where the hole drains within 6 hours is well-suited for a rain garden. Drainage within 6 to 24 hours is generally acceptable, though slower drainage calls for plants tolerant of wetter conditions. If water remains after 24 hours, the site likely needs soil amendment, a redesigned soil profile, or a different stormwater approach altogether. Standing water at 48 hours is a clear sign to choose another location or consult a professional.
Also look for a seasonal high water table, bedrock close to the surface, compacted fill from prior construction, or groundwater near the surface. A simple percolation hole gives useful information, but it can’t answer every subsurface question on its own.
Estimate the Size
Rain garden size depends on the drainage area feeding it, the soil’s infiltration rate, and the depth of the basin. Getting the size roughly right matters: a garden that’s too small overflows frequently and erodes; one that’s too large becomes difficult to excavate, plant, and maintain.
Begin by measuring the roof section, driveway, or other impervious surface connected to the garden. As a starting point, most Extension programs recommend sizing the rain garden at roughly 20% of the impervious drainage area for average loamy soils — so a 500-square-foot roof section would call for approximately a 100-square-foot garden. Clay soils that drain more slowly may need the garden sized closer to 30% of the drainage area; sandier soils that drain quickly can support a somewhat smaller footprint.
Typical residential rain gardens run 100 to 300 square feet, according to the Wisconsin Department of Natural Resources. Smaller than 75 to 100 square feet and the garden offers limited storage and little room for plant variety. Larger than 300 square feet and excavation, leveling, and long-term maintenance become significantly more demanding.
For a more precise calculation, use the sizing guidance from your local Extension office or municipality — the specific formula varies by region and local rainfall patterns. The finished garden should drain completely within 24 to 48 hours after a storm. Routine ponding beyond that window signals a problem worth investigating.
Choose the Depth
Most residential rain gardens are 4 to 8 inches deep at the basin floor. Shallower than 4 inches and the garden needs to be very wide to hold meaningful volume; deeper than 8 inches and water may take too long to drain, stress plants during wet periods, and create a tripping hazard when the basin is dry. The University of Nebraska–Lincoln Extension and several state programs recommend staying within this range for DIY residential projects.
Slope plays a direct role in the appropriate depth. The widely used guidelines from the University of Wisconsin–Extension:
- Less than 4% slope: 3 to 5 inches deep
- 5 to 7% slope: 6 to 7 inches deep
- 8 to 12% slope: approximately 8 inches deep
- Greater than 12%: choose a different site or consult a professional
The finished basin bottom should be level — not sloped — so water distributes evenly across the planting area rather than pooling in one corner. Measure depth from the level basin floor to the top of the ponding area, not from the original ground surface on the uphill edge. The inlet and overflow elevations determine how high water can rise before leaving the garden.
Design the Inlet and Outlet
The inlet is where runoff enters the rain garden. It may be a downspout extension, a shallow swale, a buried pipe, a curb opening, or sheet flow across a planted strip — the right choice depends on how concentrated the incoming flow is and how fast it moves.
Concentrated water needs a stabilized entry point. A splash pad of flat stones or a rock-lined channel at the inlet slows the flow and spreads it before it reaches planting soil. Without that buffer, even a modest downspout can carve a channel through mulch and bare soil within a few storm cycles. The stone channel should be long enough that water loses most of its energy before it contacts the basin floor.
The outlet is the route water takes when the basin reaches its design capacity. It may be a shallow spillway, a level spreader, or a graded edge that carries excess to a safe part of the landscape — typically a lawn, a planted swale, or another pervious area.
Position the inlet and outlet on opposite sides of the basin when the layout allows. This encourages water to travel through the garden rather than moving directly from entry to overflow without ever distributing across the planting area.
Use a Berm on a Slope
A berm is a raised edge of compacted soil on the downhill side of the basin that holds water in place long enough to infiltrate. On a gently sloped property, soil removed during excavation can often be used to build it.
The berm should be wide, stable, and compacted in layers — not piled up loosely. A narrow or poorly compacted berm can fail during a heavy storm, releasing stored water all at once. The top of the berm should be nearly level along its entire length, with one deliberate low point where the overflow exits in a controlled direction.
On steep slopes, or where the berm would need to retain a significant volume of water, get professional input. A series of smaller basins stepping down the slope is often safer and more effective than one large garden trying to hold too much water against a steep grade.
Excavate and Prepare the Basin

Once the site, dimensions, and water route are confirmed, mark the outline with a garden hose, rope, or landscape paint. Step back and view the shape from the house and nearby paths before any digging begins — adjustments are easy now and much harder after excavation.
Remove sod and excavate to the planned depth. Shape the sides gradually — a 3:1 slope (three feet of horizontal run for every one foot of vertical rise) is a standard guideline for residential rain gardens and is easier to stabilize and plant than a steeper cut. Keep the bottom level and check it with a long board and a carpenter’s level as you work.
Don’t compact the basin floor with heavy equipment or heavy foot traffic once it’s excavated. Compaction reduces infiltration and creates the very drainage problem the garden is meant to solve. Rough up the bottom with a fork or pick if the excavation process left it firm. Loosen the bottom 4 to 6 inches and mix in compost if the native soil is dense or compacted — especially important on properties with recent construction, where a thin layer of topsoil typically sits over heavily compacted subsoil.
Set aside suitable excavated soil for the berm or other grading work. Remove excess material from the site rather than piling it in a location that changes existing drainage patterns.
Decide Whether Soil Amendments Are Needed
Soil amendments should follow the percolation test, not be added automatically. The goal is a planting medium that supports healthy root growth while allowing water to move through at a useful rate — roughly 0.5 to 2 inches per hour for most residential rain gardens.
If native soil passed the drainage test and the site isn’t receiving water from a very large drainage area, amending the existing soil with compost is often enough. Work compost into the top 12 inches of the basin, which improves drainage in clay soils and water retention in sandy ones, and supports plant establishment.
When native soil drains too slowly (less than 0.5 inches per hour), a full soil replacement may be needed. The most common engineered mix for residential rain gardens is 50 to 60% coarse sand, 20 to 30% topsoil (no clay), and 20 to 30% compost. This mix promotes infiltration while retaining enough moisture for plant roots. Do not use fine sand or beach sand — particles that are too uniform pack together over time and slow drainage. Follow your local Extension or municipal specification when the design calls for imported soil, since mix ratios vary by region and intended performance.
In some situations — particularly heavy clay without adequate drainage or a garden receiving high inflow volumes — an underdrain may be needed beneath the soil profile. An underdrain is a perforated pipe set in gravel that moves water out of the basin even when native soil infiltration is slow. This is a more complex and expensive system, and a step where professional input is worth having.
Create Planting Zones
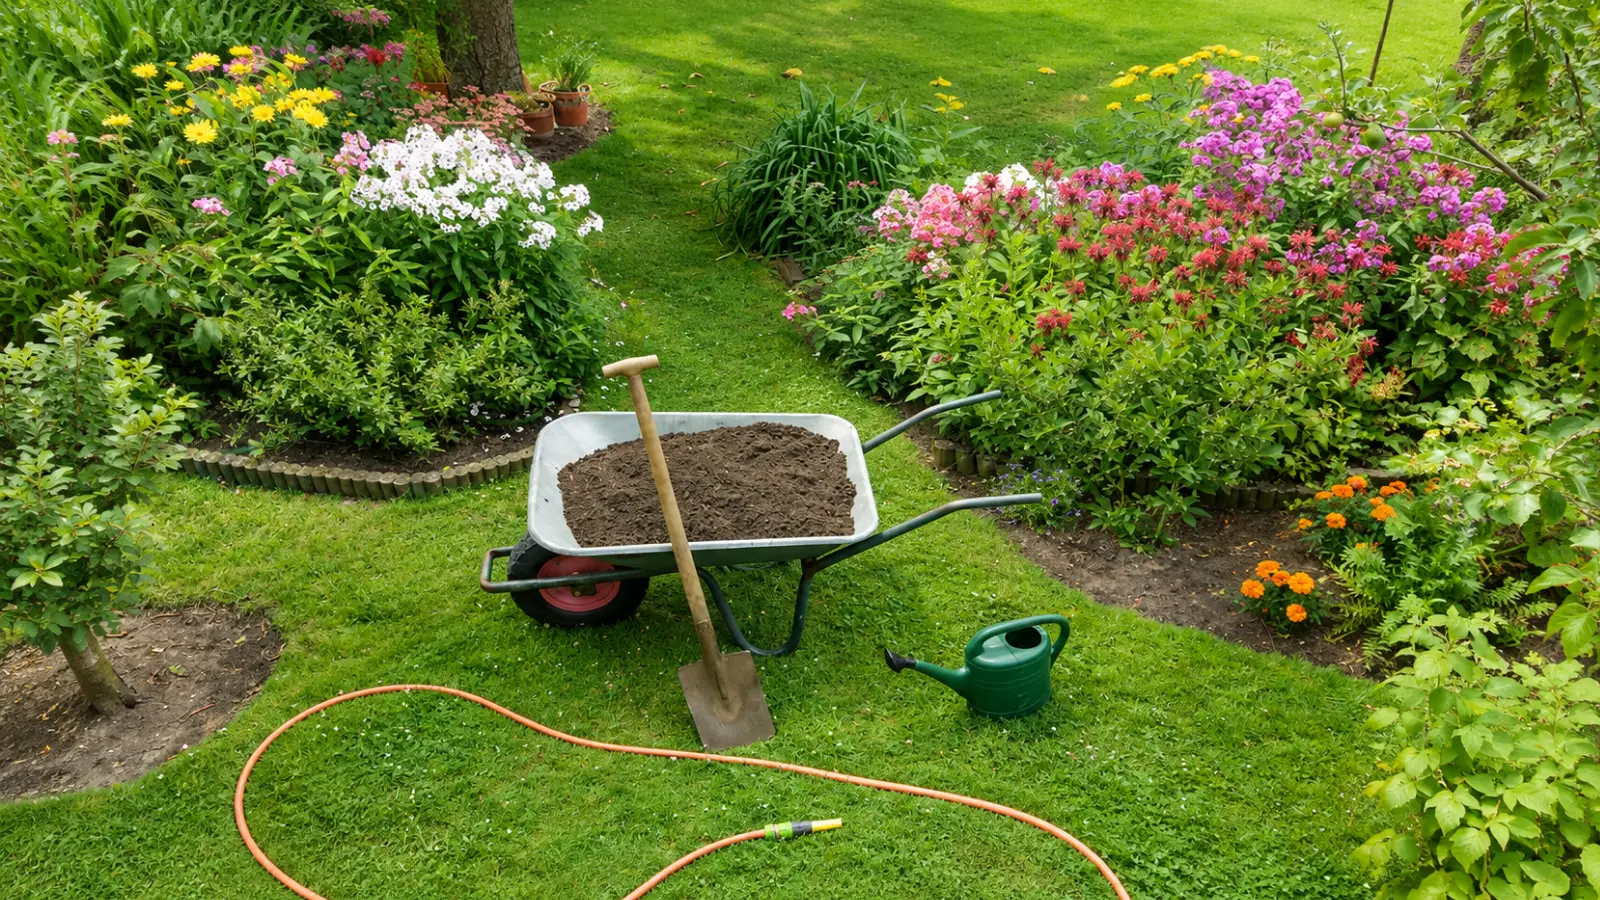
A rain garden has distinctly different moisture conditions from its center to its edges. Understanding those zones before selecting plants is what separates a garden that thrives from one that needs constant replacement.
Bottom Zone
The lowest area ponds first and drains last. Plants here may sit in standing water for up to 24 to 48 hours after a storm, then dry out completely between rain events. Choose species that genuinely tolerate both extremes — not just “moist” conditions, but temporary submersion followed by full drying. Common choices for this zone include cardinal flower (Lobelia cardinalis), blue flag iris (Iris versicolor), swamp milkweed (Asclepias incarnata), and sedges. Species vary by region, so check with your local Extension service for regionally appropriate natives.
Middle Zone
The sides of the basin experience moderate, alternating moisture — wet during and after storms, drying progressively between them. This zone typically supports the widest range of plants and offers the most flexibility in design. Species like Joe-Pye weed (Eutrochium maculatum), wild bergamot (Monarda fistulosa), swamp rose (Rosa palustris), and switchgrass (Panicum virgatum) do well in many U.S. regions at this level.
Upper Edge
The outer rim drains quickly and can become quite dry between storms, behaving more like ordinary garden soil. Plants here should tolerate both dry spells and occasional runoff. Coneflower (Echinacea purpurea), black-eyed Susan (Rudbeckia hirta), little bluestem (Schizachyrium scoparium), and New England aster (Symphyotrichum novae-angliae) perform well in this transitional edge on many sites across the U.S.
Apply 2 to 3 inches of shredded bark mulch across all zones after planting — enough to suppress weeds and retain moisture without impeding water movement through the soil. Avoid fine-textured or floating mulches (like dyed nuggets or pure bark chips) that tend to wash out of the basin during storms. Shredded hardwood or aged wood chips stay in place better and decompose into organic matter over time.
Plan the Overflow
Overflow is a required part of the design, not an optional add-on. No residential rain garden can hold every possible storm, and when the basin reaches capacity, excess water needs a controlled exit that doesn’t threaten a building, road, neighboring property, or eroding slope.
The overflow outlet sits at the maximum ponding elevation — the highest water level the basin is designed to hold. When water reaches that level, it exits through the spillway before rising any higher. A stabilized spillway of compacted soil topped with stone or cobble handles the outflow without eroding. Size the opening wide enough to pass the overflow volume without scouring the edges.
Direct overflow toward a lawn, a planted swale, or another pervious area that can absorb or slow it. Test the path with a garden hose before final planting — watch whether water spreads as intended or finds a shortcut around the berm or basin edge. Small corrections are straightforward before the garden is planted and mulched.
Rain Garden Construction Sequence
A practical order of operations keeps each step building on the last and avoids having to redo work mid-project.
- Check local rules, call 811 to locate utilities, and confirm any required permits.
- Observe runoff during a real rain event to identify the drainage area and flow path.
- Mark the basin outline, inlet, berm location, and overflow route.
- Test soil infiltration at the basin depth and in multiple spots if soil varies.
- Confirm dimensions, depth, and setbacks against local guidance.
- Install or prepare the downspout connection and inlet stabilization before disturbing the basin.
- Excavate the basin with a level bottom and gradual side slopes (approximately 3:1).
- Loosen and amend the basin floor; build and compact the berm if the slope requires one.
- Install engineered soil or soil amendments according to the design and any local specification.
- Shape and stabilize the overflow spillway.
- Plant according to moisture zones; mulch with 2 to 3 inches of shredded material.
- Water new plants and inspect the basin during the first several storms.
The sequence should be adjusted when a professional specification or municipal standard applies. On larger or more complex sites, drainage work and soil installation may involve several separate phases.
Common Design Mistakes
Putting It Too Close to the House
Keep at least 10 feet of clearance from any foundation, especially with a basement or crawlspace. Infiltrating water near a foundation can cause moisture problems and structural issues that are far more expensive to address than relocating the garden.
Skipping the Drainage Test
Soil that looks dry and workable on the surface may have a compacted or clay-heavy layer just below. A percolation test at basin depth — not just a surface look — is the only way to know how the site will actually perform.
Building a Basin Without an Overflow
Every system needs a planned exit for storms that exceed capacity. Without one, overflow will find its own path — often toward something you’d rather keep dry.
Using Steep Basin Sides
Steep walls are harder to stabilize, harder to plant, and prone to slumping after rain. Aim for gradual slopes of about 3:1 (three horizontal feet for every one foot of vertical drop), which blend naturally into most residential landscapes.
Sending a Downspout Directly Onto Bare Soil
Concentrated flow from a downspout will carve a channel through unprotected soil within a few storms. A stone-lined channel or splash pad at the inlet is a small investment that prevents repeated repair work.
Choosing Plants Only for Appearance
A plant that looks perfect in a nursery container may fail completely in the wrong moisture zone. Match species to the actual wet-to-dry pattern of their zone, not to what looked good at the garden center.
Treating a Rain Garden as Flood Protection
A rain garden reduces runoff from typical storms — it doesn’t protect a property against extreme rainfall events. Keep the larger drainage picture in mind, and don’t position the overflow where a large storm would create a serious problem.
Rain Garden Design Decisions
Use this table as a preliminary site check before developing the final design. When several warning signs appear together, pause the project rather than forcing the site to work.
| Site Factor | Recommended Condition | Warning Sign | Action |
|---|---|---|---|
| Distance from foundation | At least 10 feet, with grade sloping away from the house | Water would collect beside a wall, basement, or crawlspace | Choose another location or redesign the drainage route |
| Soil infiltration | Test hole drains within 24 hours | Water remains after 24 hours, or site is seasonally wet | Amend soil, redesign the soil profile, or consider another system |
| Slope | Less than 12%; level basin floor regardless of grade | Grade greater than 12%, or fast-moving erosive flow | Use professional design, multiple cells, or a different solution |
| Water source | Known roof, pavement, or clean lawn runoff | Leaking pipe, constant groundwater, or contaminated runoff | Correct the source before creating a basin |
| Inlet | Stable, rock-lined entry that spreads flow | Downspout discharging onto bare soil | Add a stone channel, splash pad, or level spreader |
| Overflow | Stabilized spillway directed away from structures | No clear exit path during a large storm | Grade and stabilize an overflow route before planting |
| Planting zones | Species matched to wet, transitional, and dry areas | One plant list applied uniformly across the basin | Map moisture zones and select plants for each |
| Underground conditions | No conflicting utilities, septic system, shallow bedrock, or high water table | Unverified infrastructure, seasonal saturation, or bedrock within 2 feet | Locate all services and seek local or professional guidance |
A different stormwater approach — a bioswale, permeable paving, or a conservation planting — may be safer and more effective when the site conditions don’t support a conventional rain garden.
Design Around the Water First
A successful rain garden begins with the site rather than the planting plan. Observe where runoff comes from, test the soil, measure the drainage area, establish the basin depth, and decide where excess water will leave before excavation begins.
Once those functional decisions are correct, the garden can be shaped and planted to fit the landscape. When the inlet, basin, soil profile, planting zones, berm, and overflow work together, the result can manage routine stormwater while functioning as an attractive part of the garden.
COMMON QUESTIONS
Before you begin.
How do you design a rain garden?
Start by tracing where runoff comes from and where excess water can safely go. Choose a suitable location, test soil infiltration, calculate the drainage area, determine the basin size and depth, and plan a stabilized inlet and overflow. The finished basin should have a level bottom and planting zones matched to different moisture conditions.
How deep should a rain garden be?
Most residential rain gardens are about 4 to 8 inches deep. Nearly level sites may use a shallower basin, while gently sloping sites may require greater depth to create a level bottom. Sites with slopes greater than about 12% generally require a different location or professional design rather than simply digging a deeper basin.
How big should a rain garden be?
Rain garden size depends on the area draining into it, soil infiltration and basin depth. As a general starting point, a rain garden in average loamy soil may be approximately 20% of the impervious drainage area, while slower-draining soils may require a larger footprint. Use local Extension or municipal sizing guidance for the final dimensions.
How do you test soil drainage before building a rain garden?
Dig a test hole to approximately the intended basin depth, fill it with water and allow it to drain completely. Fill it again and measure how long the second fill takes to drain. A site that drains within 24 hours is generally more suitable, while water remaining beyond that point may indicate that soil modification, relocation or another drainage solution is needed.
How far should a rain garden be from a house?
Keep a residential rain garden at least 10 feet from a house foundation, particularly when the building has a basement or crawlspace. The location should also allow overflow to move safely away from structures rather than toward them. Local regulations or site-specific conditions may require greater setbacks.
Can a downspout drain into a rain garden?
Yes, provided the rain garden is properly sized and the site has suitable drainage and a safe overflow route. Concentrated downspout water should enter through a stabilized feature such as a stone-lined channel or splash pad that slows and spreads the flow before it reaches the planting area, helping prevent erosion.