Planting a garden involves more than placing seeds or young plants into the soil. Planting depth, spacing, root handling, soil level, timing and the first watering all influence how well seeds germinate and transplants establish in their new location.
This step-by-step guide explains how to plant a garden once the site is already prepared, including how to read seed packets and plant tags, choose between seeds and transplants, prepare planting holes, handle roots, set the correct soil level, water after planting and care for new plants during the first week.
How to Plant a Garden at a Glance
Confirm that the soil, weather, tools and plant instructions are ready. Read the seed packet or plant tag, follow the recommended depth and spacing, prepare a suitable hole, handle roots gently, set the plant at the correct soil level, firm the soil without compacting it, water immediately, label the planting and monitor it closely during the first week.
What Should Be Ready Before Planting
Before you plant, make sure the site is ready for the specific plants you selected. The garden should have an appropriate growing medium, enough light for the plants, workable access and a plan for watering. If the space, timing or soil is not ready, delaying the planting is often better than trying to correct several problems after the roots are in place.
Gather the plant material, labels, measuring tool, hand trowel or shovel, water and any support or mulch you expect to use. Keep seeds and roots protected from direct sun and drying wind while you work. Planting one section at a time helps keep the process orderly.
If you still need to create the garden itself, return to How to Start a Garden. This guide begins once the location and basic plan already exist.
Read the Plant Tag or Seed Packet
The plant tag or seed packet is the first source for the planting details of that particular plant. Check the recommended depth, spacing, light, mature size, timing and any special handling instructions. General advice can explain the process, but it cannot replace information written for the plant or variety you are growing.
Look for distinctions such as direct sowing versus transplanting, indoor starting, soil temperature or sensitivity to frost. If the instructions conflict with a generic rule, follow the plant-specific guidance and adjust for local conditions. Keep the packet or tag until the planting has become established.
Seeds vs. Transplants
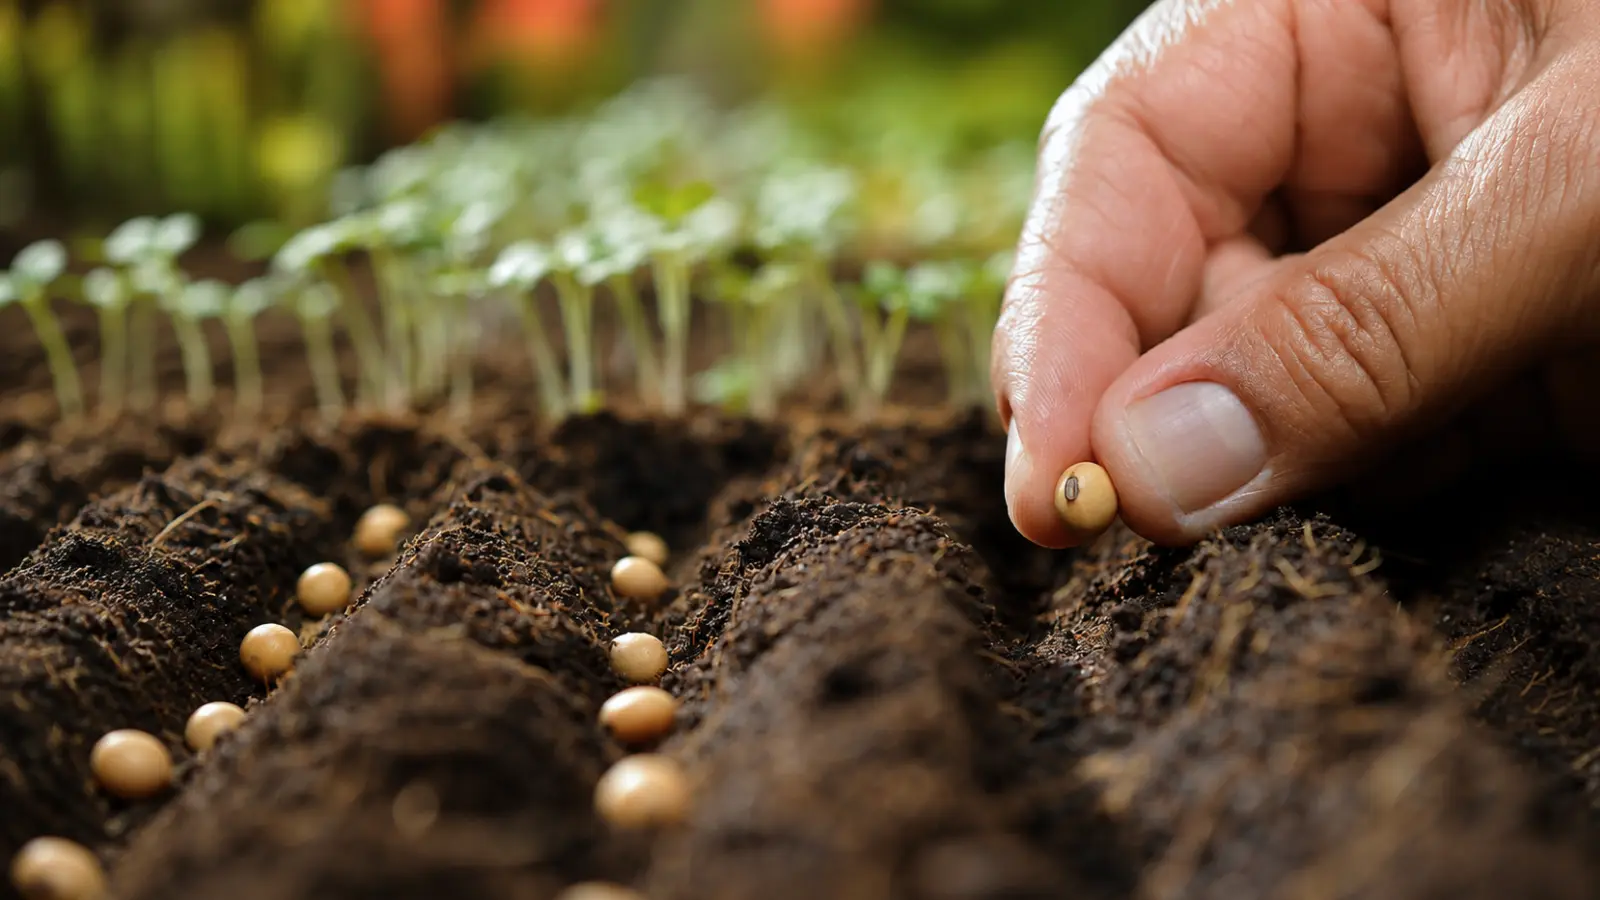
Seeds and transplants require different handling, but both can produce a healthy garden when planted under suitable conditions.
Planting Seeds
Seeds are usually planted at a relatively shallow depth, though the exact instruction varies. Sow them into prepared soil, cover them according to the packet and water gently so the seed does not wash away. Keep the surface appropriately moist during germination without leaving it constantly saturated.
Some seeds should be planted directly where they will grow. Others are normally started in a protected environment and moved later. Detailed seed starting belongs in the future Seeds and Seed Starting cluster; for this article, follow the packet’s depth and timing instructions.
Planting Transplants
Transplants, sometimes called seedlings, are young plants moved from a tray, pot or protected growing area into the garden. Water a transplant as appropriate before moving it, support the root ball during handling and avoid pulling it by the stem. Choose a calm, suitable planting period when the plant will not immediately face conditions it cannot tolerate.
A protected plant may need gradual acclimation to outdoor sun, wind and temperature before it is planted. This process is commonly called hardening off and is especially relevant when the plant was grown indoors or under protection.
Planting Depth and Spacing
Depth and spacing are two of the most important planting decisions. A seed sown too deeply may struggle to emerge, while a transplant set too deep may develop problems at the stem or crown. A plant placed too closely may compete for light, water and air as it grows.
Use the seed packet or plant tag as the primary rule. For transplants, compare the soil level in the container with the level of the prepared bed and follow the plant’s instructions. For seeds, measure from the soil surface rather than guessing by eye when the recommended depth is small.
Spacing should reflect mature size, not the amount of empty space on planting day. Leave room for airflow, roots, maintenance and the plant’s eventual spread. If you are unsure, verify the mature dimensions before planting rather than counting on fixing crowding later.
Prepare the Planting Hole
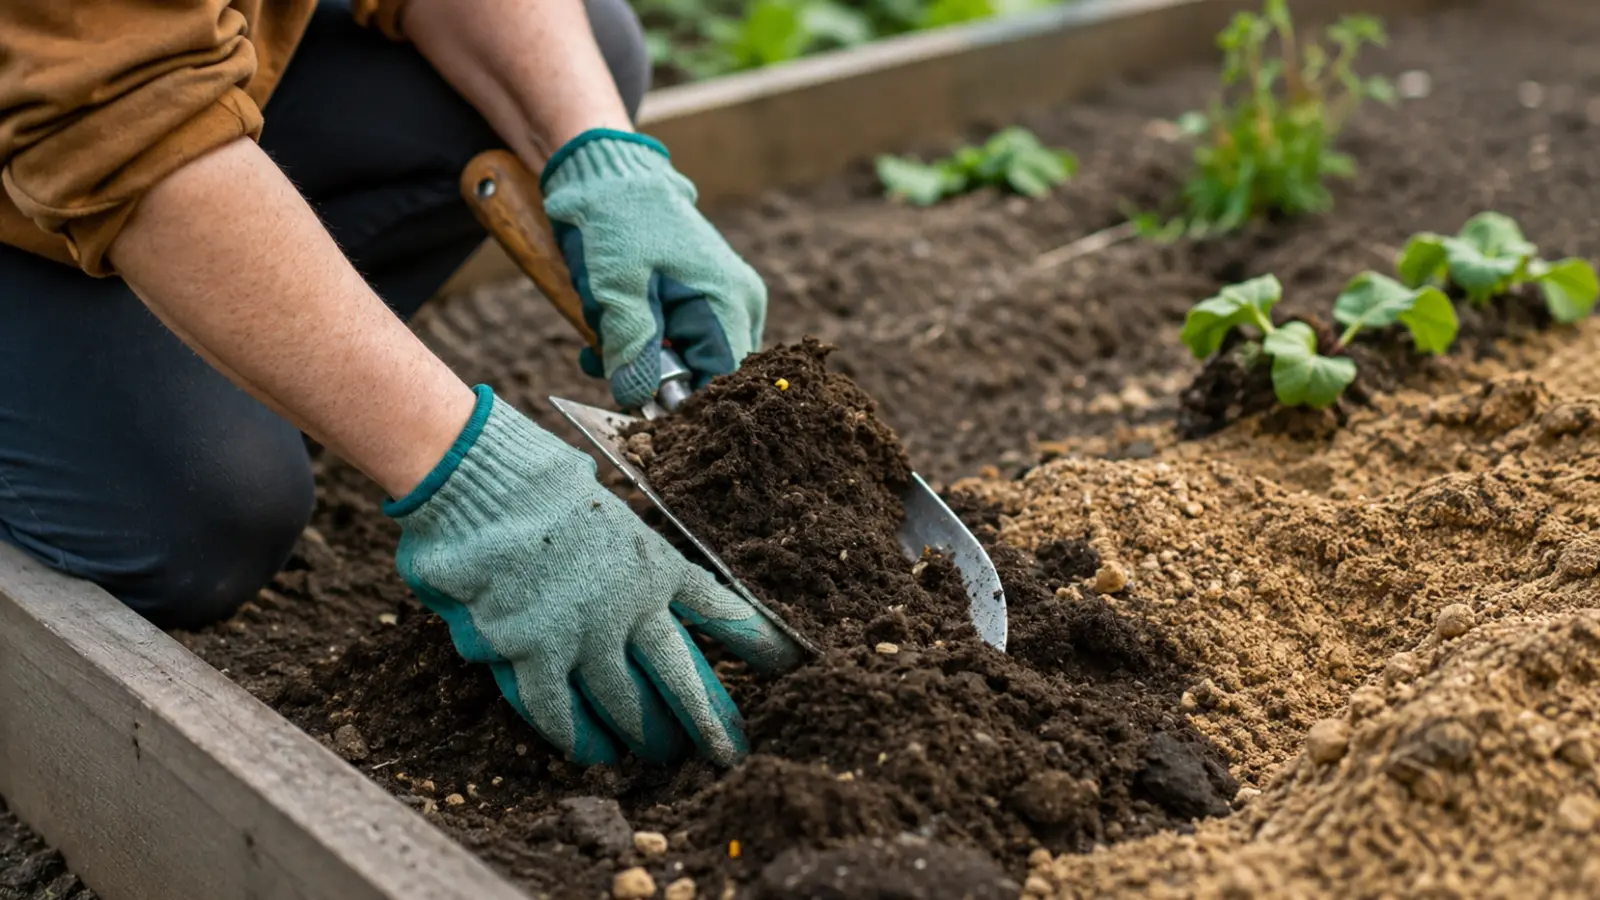
Prepare each hole immediately before planting so the exposed roots spend as little time as possible outside the growing medium. The hole should suit the plant’s root system and the condition of the soil. For a transplant, make it wide enough for the root ball without forcing the roots into a tight shape.
A hole does not need to be dramatically deeper than the root ball unless the plant-specific instructions say otherwise. Break up severe compaction around the planting area, but avoid creating a pocket of loose material that holds water differently from the surrounding soil.
For seeds, create a shallow furrow or planting space at the stated depth and make sure the surface is reasonably even. Remove large stones or debris that would interfere with seed contact or root growth.
Handle Root Balls and Root-Bound Plants
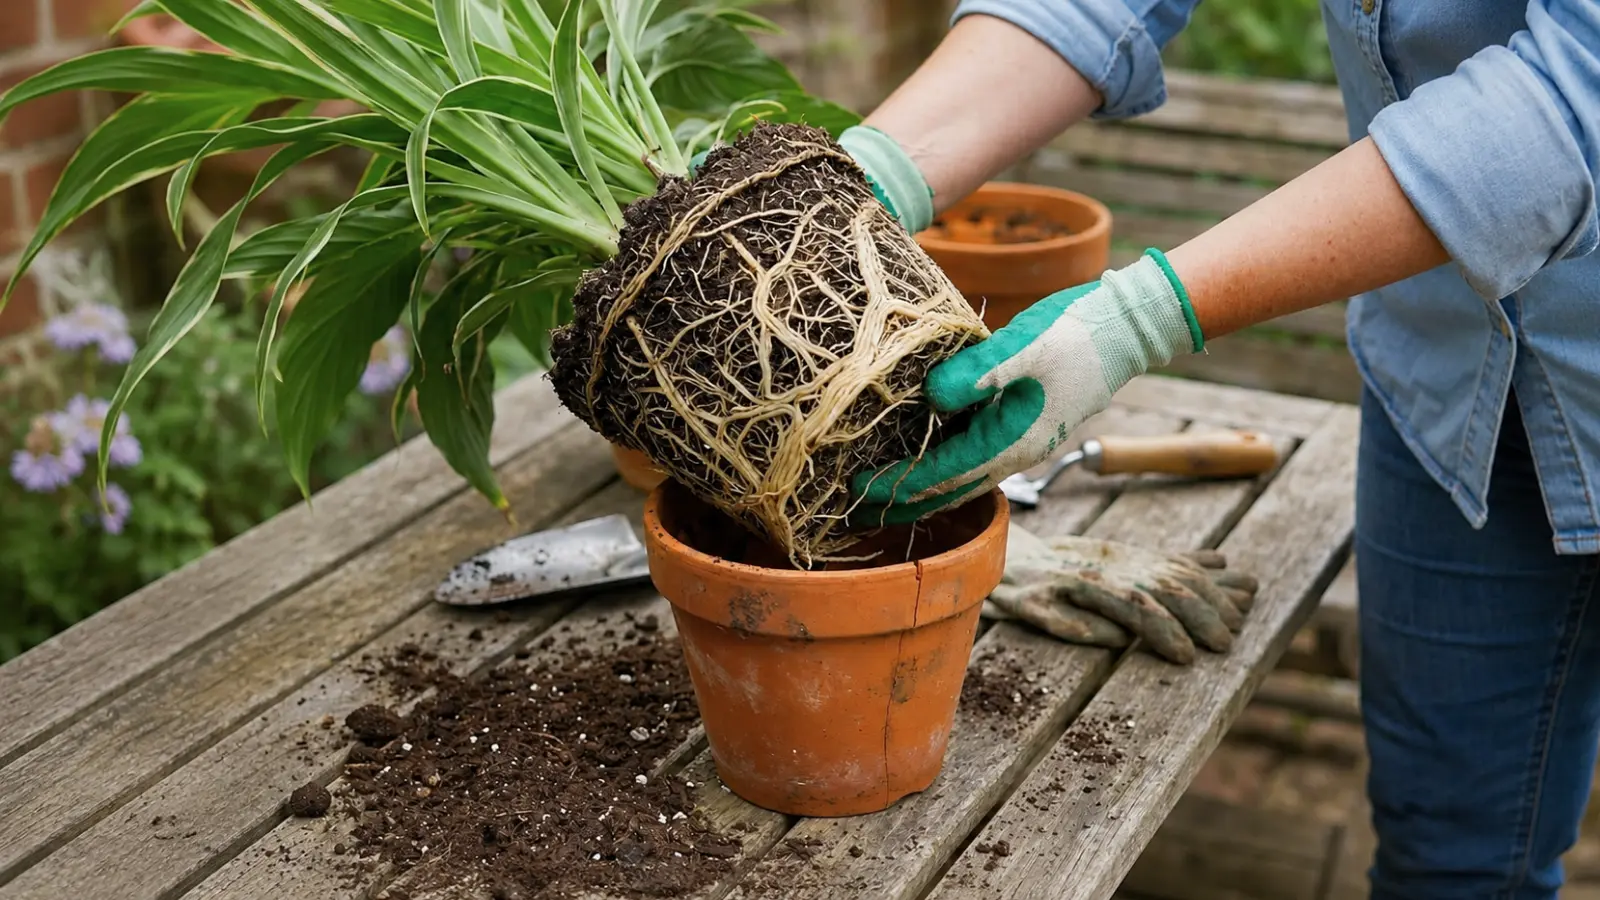
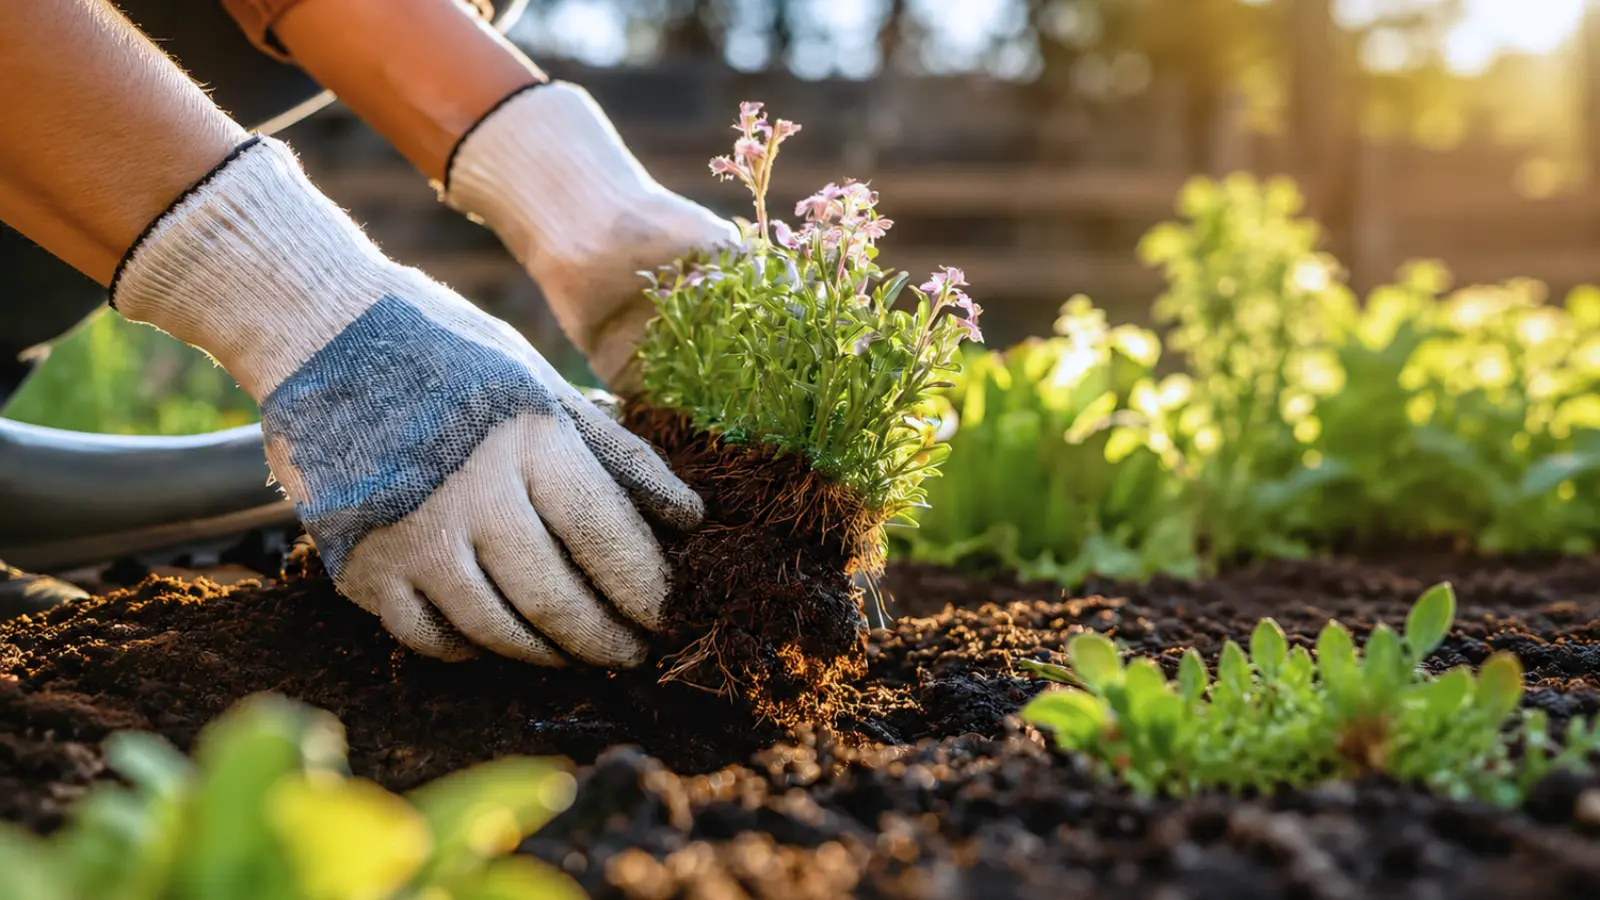
Roots are easily damaged by drying, crushing and rough handling. Carry a transplant by its container or root ball, not by the stem. If the root ball is dry, address moisture before planting according to the plant’s needs rather than placing a severely dry root system into the soil and hoping it recovers.
Some plants arrive with roots that circle the outside of the container. If roots are mildly crowded, gently loosen the outer surface so they can move into the surrounding soil. Severely root-bound plants may require more careful correction, but the appropriate response depends on the plant and the condition of the roots.
Do not tear healthy roots unnecessarily. The goal is to encourage contact with the new growing area while preserving as much of the root system as practical.
Set the Correct Soil Level
Place a transplant at the soil level appropriate for that plant. In many cases, the surface of the root ball should align with the surrounding soil, but some plants have specific requirements. Do not bury stems, trunks or crowns simply to make a plant stand more securely.
Planting too deeply can reduce air around the base of the plant and create persistent moisture against tissues that should remain above the soil. Planting too shallowly can expose roots and leave the plant unstable. Check the tag or reliable plant-specific guidance when the correct level is uncertain.
Firm the Soil and Water Immediately
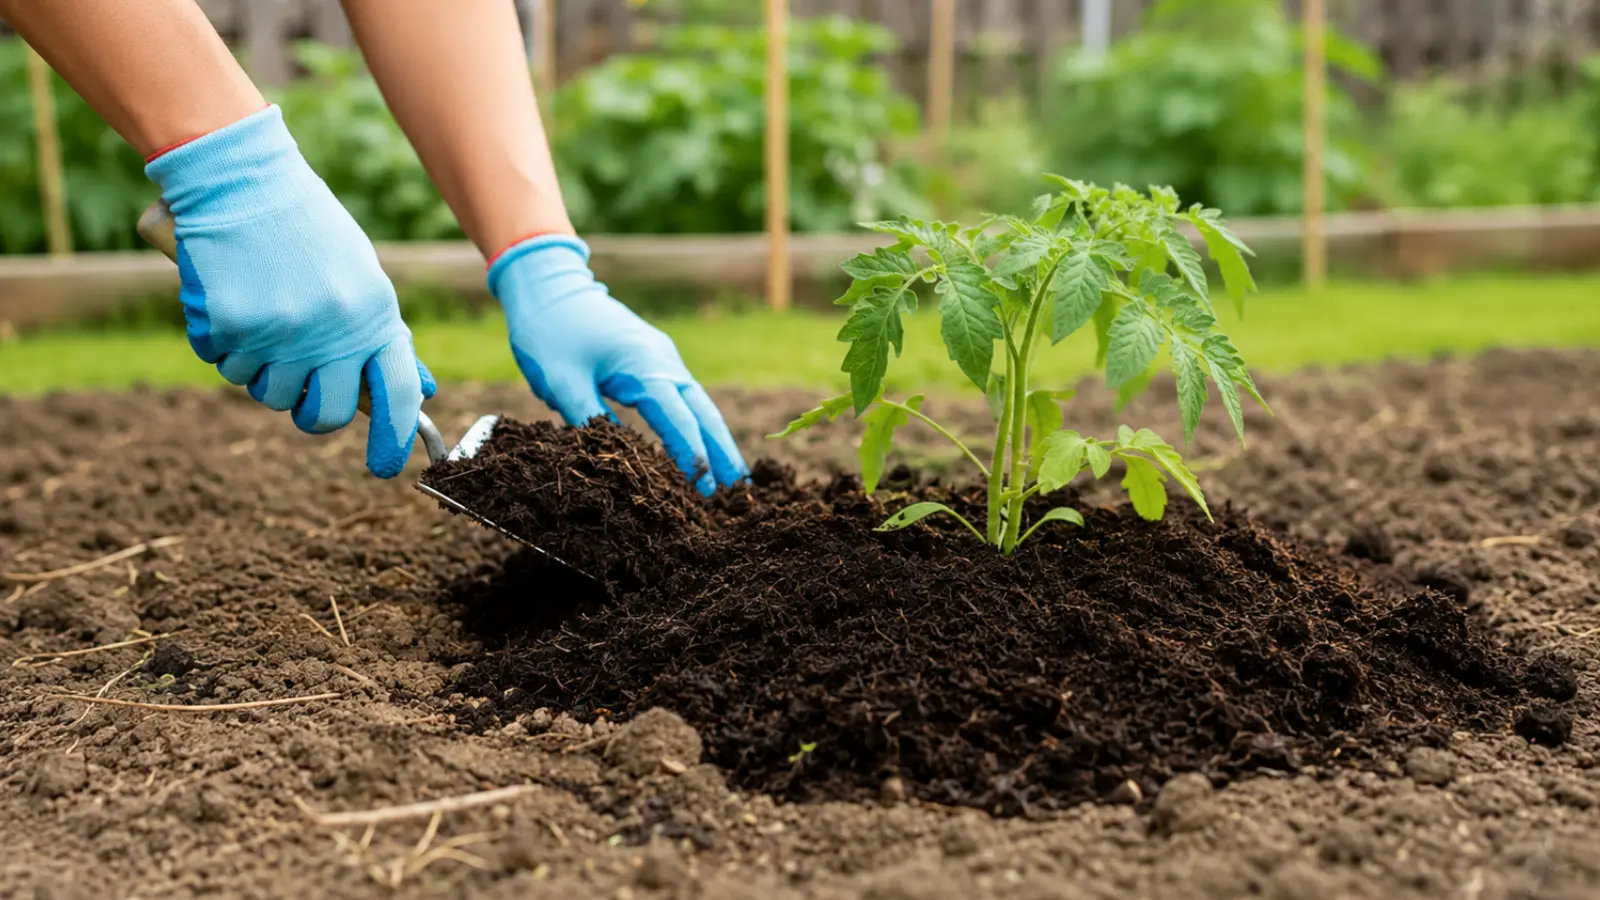
Once the plant is positioned, backfill around the root ball and firm the soil gently. The soil should make contact with the roots without being compressed into a hard layer. Pressing lightly with your hands is usually enough; avoid stamping around the plant.
Water immediately after planting to settle the soil and remove large air pockets. Apply water gently at the base and allow it to move into the root zone rather than run across the surface. Seeds also need careful watering so they remain in place.
After watering, check whether the plant has shifted, whether roots are exposed or whether water is pooling. Make small corrections while the planting is still easy to adjust.
Label, Support and Mulch
Label the Planting
Label the plant name, variety when relevant and planting date. For seeds, mark the row or area clearly because seedlings can look similar during early growth. Labels make it easier to compare results and find accurate care information later.
Add Support When Needed
Install a stake, trellis or other support at planting time when the plant will need one. Adding support early can prevent later root disturbance. The support should assist the plant without tightly constraining natural growth or rubbing against the stem.
Use Mulch After Planting
Mulch may help moderate moisture and temperature and reduce weed pressure around a planting. If you use it, apply it on the soil surface and keep it away from stems, trunks and crowns. Mulch should support the planting; it should not cover the base of the plant or hide a drainage problem.
Care During the First Week
The first week is a period of observation and adjustment. Check the soil moisture, plant position, new growth and exposure to heat or wind. Newly planted roots may not yet reach far into the surrounding soil, so the plant can respond quickly to drying conditions.
Water according to the plant, soil, container and weather rather than repeating a fixed schedule. Protect the planting from conditions it cannot tolerate when appropriate, but do not keep it constantly wet in an attempt to prevent every sign of stress.
Remove competing weeds while they are small, confirm that labels remain visible and check supports after wind or rain. Avoid adding fertilizer automatically. The plant may need time to establish before you can judge its growth fairly.
Transplant Stress and When Not to Plant
Some temporary wilting or slower growth can occur after a transplant is moved. That doesn’t necessarily mean the plant is failing. Consider recent handling, root disturbance, heat, wind, soil moisture and the difference between the old and new environment.
Persistent decline, drying, soft stems or worsening symptoms deserve closer inspection. Look at the root zone and the whole plant before diagnosing a cause. If you need plant-specific identification or treatment, continue to the future Plant Library rather than applying a general remedy.
Do not plant when the soil is frozen, waterlogged or too wet to work without compaction, or when weather conditions are unsuitable for the plant. Avoid planting a tender plant immediately before a known frost or during extreme heat unless reliable, plant-specific guidance supports it. The right timing depends on the plant and local conditions; see When to Start a Garden for the broader timing decision.
Planting Methods at a Glance
Use this table as a quick reference, then confirm the exact instructions on the packet or plant tag.
| Planting Method | Best For | Depth Rule | First Care |
|---|---|---|---|
| Direct-sown seed | Seeds that establish where they will grow. | Follow the seed packet; measure shallow depths rather than guessing. | Water gently and keep the seed zone appropriately moist. |
| Indoor-started seedling | Plants started under protection and moved outdoors later. | Set at the plant-specific soil level after gradual acclimation. | Monitor for sun, wind, temperature and transplant stress. |
| Nursery transplant | Plants purchased in a container and planted into a bed or larger container. | Match the correct soil level; avoid burying stems or crowns. | Firm gently, water immediately and check the root zone. |
| Container planting | Plants placed into a suitable pot or planter. | Use the plant’s instructions and leave appropriate root space. | Confirm drainage and monitor moisture more frequently. |
The method may change, but the central principles remain the same: follow the plant’s instructions, protect the roots, respect depth and spacing, water carefully and observe the planting as it establishes.
Give Every Plant the Best Possible Start
Successful planting comes down to getting a few important details right at the beginning. Follow the plant-specific instructions, respect depth and spacing, protect the roots, keep the correct soil level and water carefully after planting.
Then give the garden time to establish before reacting to every small change. Watch soil moisture, new growth and signs of stress during the first days, and let the plant’s response guide what it needs next.
COMMON QUESTIONS
Before you begin.
How do you plant a garden step by step?
Start with a prepared site and read the seed packet or plant tag for specific instructions. Follow the recommended planting depth and spacing, handle roots carefully, position transplants at the correct soil level, firm the soil gently and water immediately. Label what you planted and monitor moisture, weather exposure and plant condition during the first week.
How deep should seeds and transplants be planted?
Plant seeds at the depth recommended on the seed packet, since requirements vary by species and variety. For transplants, follow plant-specific guidance and avoid automatically burying stems, trunks or crowns. In many cases, the existing root-ball surface should remain near the surrounding soil level, but some plants have different requirements.
How far apart should garden plants be?
Follow the spacing recommendations on the seed packet or plant tag and consider the plant’s mature size rather than its size at planting. Proper spacing provides room for roots and above-ground growth while supporting airflow and maintenance access. Crowding young plants to make a new garden look fuller can create problems as they mature.
Should you loosen roots before planting a transplant?
If roots are circling around the outside of the root ball, gently loosening the outer roots may help them grow into the surrounding soil. Avoid unnecessarily tearing healthy roots or breaking apart the entire root system. Severely root-bound plants may require plant-specific handling beyond a simple loosening.
Should you water immediately after planting?
Yes, newly planted seeds and transplants generally should be watered gently after planting. Water helps settle soil around roots and provides moisture for establishment without heavily compacting the growing medium. Afterward, check root-zone moisture and adjust watering according to the plant, soil, container, rainfall and weather rather than following a rigid schedule.
What should you do during the first week after planting?
Check the planting regularly for soil moisture, wilting, shifting, exposed roots, weather stress and other changes. Newly planted roots have not yet spread far into the surrounding soil, so moisture may need closer attention during establishment. Keep weeds under control, check supports and labels, and avoid automatically adding fertilizer or extra water in response to normal short-term transplant stress.