Starting a garden from scratch becomes much easier when you make the decisions in the right order. Before buying plants or preparing soil, define what you want the garden to do, understand the space you have, choose a manageable format, and make a simple plan that fits your climate, time, and available care.
This step-by-step guide explains how to start a garden in 18 practical steps, from choosing a location and checking sunlight and drainage to selecting plants, preparing the growing medium, planting, watering, building a simple maintenance routine, and deciding when your first garden is ready to expand.
How to Start a Garden in Simple Terms
Choose a purpose, start with a manageable area, check sunlight and drainage, understand your climate and frost dates, select a garden format, make a simple plan, prepare the growing medium, choose suitable plants, gather essential tools, plant at the correct depth and spacing, then create a small routine for water and observation. Expand only after the first garden is working for your real schedule.
Before You Start
The first decisions shape everything that follows. Starting with a clear purpose and realistic scale helps you avoid buying plants or materials before you know what the space can support.
1. Decide What You Want From the Garden
Begin with the role you want the garden to play. You may want fresh herbs, seasonal color, a place to spend time outdoors, habitat for pollinators or simply the experience of growing something. Your purpose affects the plants, layout, maintenance and budget. It does not need to be a formal design statement; one sentence is enough: “I want a small garden that gives me flowers to enjoy from the kitchen window,” for example.
Do not let a broad phrase such as home gardening force you into a particular garden type. The right first project is the one that fits both your interests and your available conditions.
2. Start With a Manageable Size
Choose an area you can reach, water, weed and inspect during an ordinary week. Starting smaller gives you a clearer chance to learn how your site behaves, without asking you to settle for less garden. Consider the time you can give it when work, travel and weather make gardening less convenient.
Leave room for paths, tools and future changes. A first garden that is slightly smaller than your ambition is usually easier to sustain than one that needs constant rescue.
Choose and Understand the Space
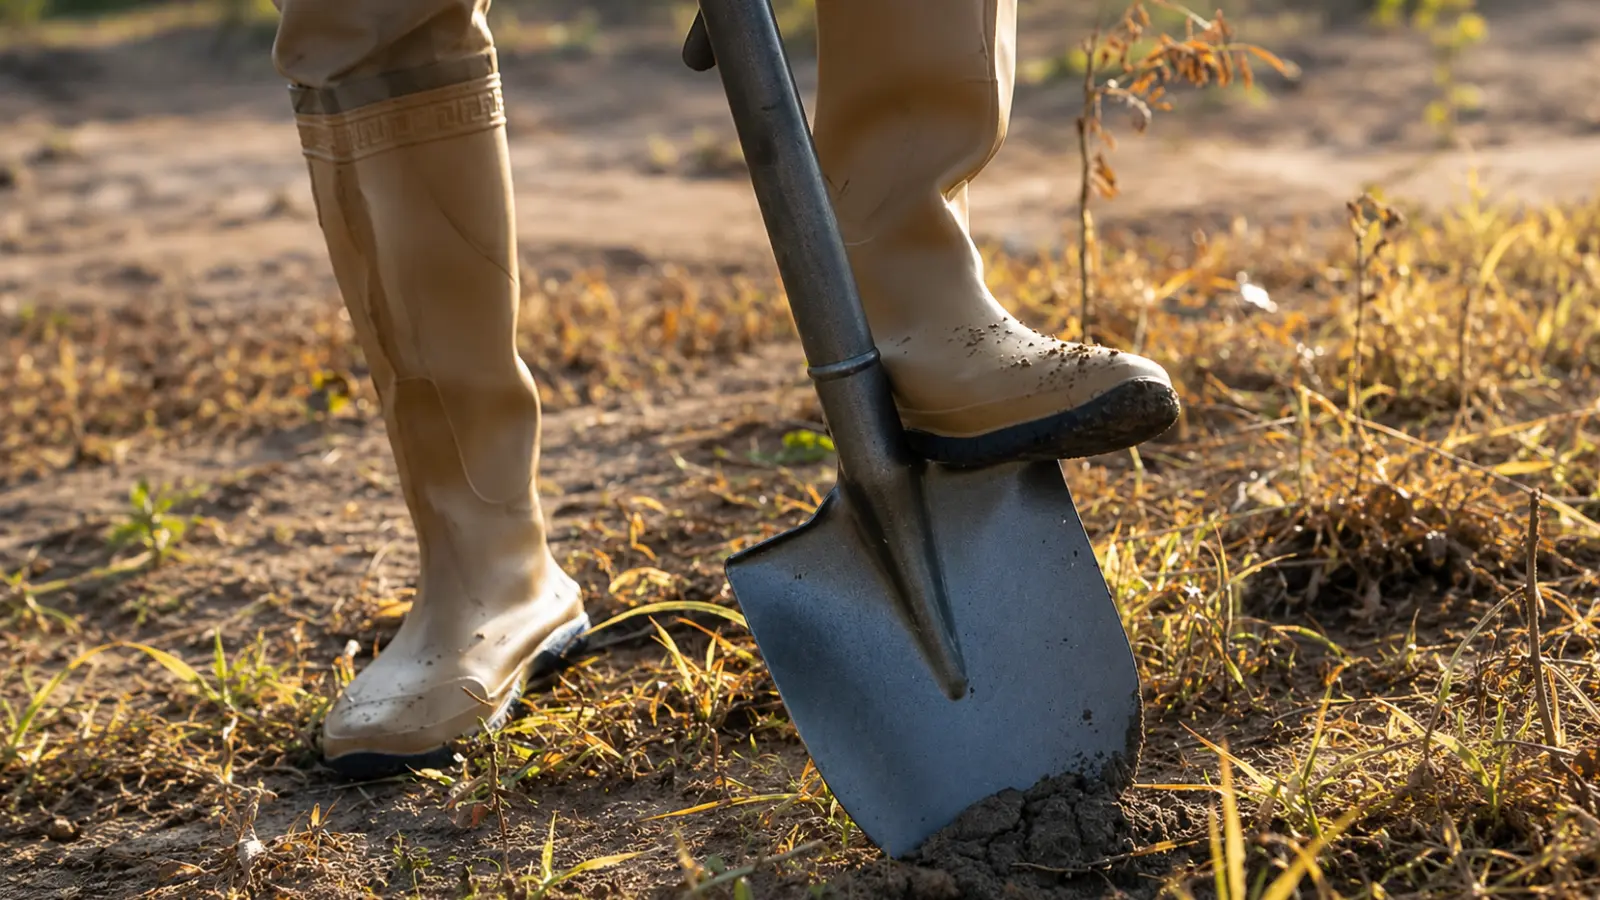
Once you know the purpose and scale, study the space before deciding what to grow. This is the part of starting a garden that prevents the most avoidable mistakes.
3. Choose the Location
Choose a location that is accessible and compatible with the garden’s purpose. Look for a place where you can carry water, bring in materials and see the plants often enough to notice changes. Avoid placing a garden where tree roots, roof runoff, constant wind or foot traffic will create problems you did not plan for.
For a backyard garden, note nearby fences, buildings, trees, utilities and areas that remain wet. For a patio or balcony, confirm the surface can support containers and that water can drain without damaging the property.
4. Observe Sun and Drainage
Observe the location at different times of day before buying plants. Record where direct sun falls in the morning and afternoon, and notice how the pattern changes as trees leaf out. A space that looks bright doesn’t guarantee full sun, and afternoon heat reflected from pavement can change the growing conditions.
After rain or watering, observe how quickly water leaves the area. Standing water, compacted soil and runoff can matter as much as the number of sunny hours. If the site cannot provide the conditions a plant needs, change the location or choose a different plant rather than forcing the match.
5. Know Your Climate, Zone and Frost Dates
When you start a garden in the United States, use local conditions rather than a single national calendar. Check your USDA Hardiness Zone to understand the winter temperatures that perennial plants may tolerate, then use local frost information and Cooperative Extension guidance for seasonal timing.
A hardiness zone does not tell you the exact day to plant, and it leaves out summer heat, humidity, rainfall, soil temperature and any sheltered microclimate beside a wall. Think of the zone as one useful piece of the decision, not the complete answer.
6. Choose In-Ground, Raised Bed or Containers
Select the format that fits the site and the amount of control you need. An in-ground garden uses the existing soil and can offer generous root space, but it requires you to assess drainage, compaction and access. A raised bed defines the growing area and can simplify access and soil management, but it requires construction or purchased materials and a planned soil fill. It does not need to become a raised-bed construction project for this first decision.
Containers work well for patios, balconies, rentals and small spaces. They offer control over the growing medium, but they dry faster and limit root volume. A mixed garden can combine formats when conditions vary. Choose the option you can maintain, not the option that looks most elaborate.
Make the Plan
A simple plan connects your goals to the space. A rough sketch works: it just needs to show where plants will go, how you will reach them and what the garden will require during the season.
7. Make a Simple Plan
Sketch the boundaries, fixed structures, sunny and shady areas, water access and walking routes. Mark where the garden will be viewed and where you will work. Include approximate dimensions so you can compare the available area with mature plant sizes and recommended spacing.
Plan for access before filling the space with plants. Keep frequently used plants close to the path and leave enough room to carry a watering can, kneel or reach the center of a bed. For a more detailed planning process, use How to Plan a Garden.
8. Assess or Prepare the Growing Medium
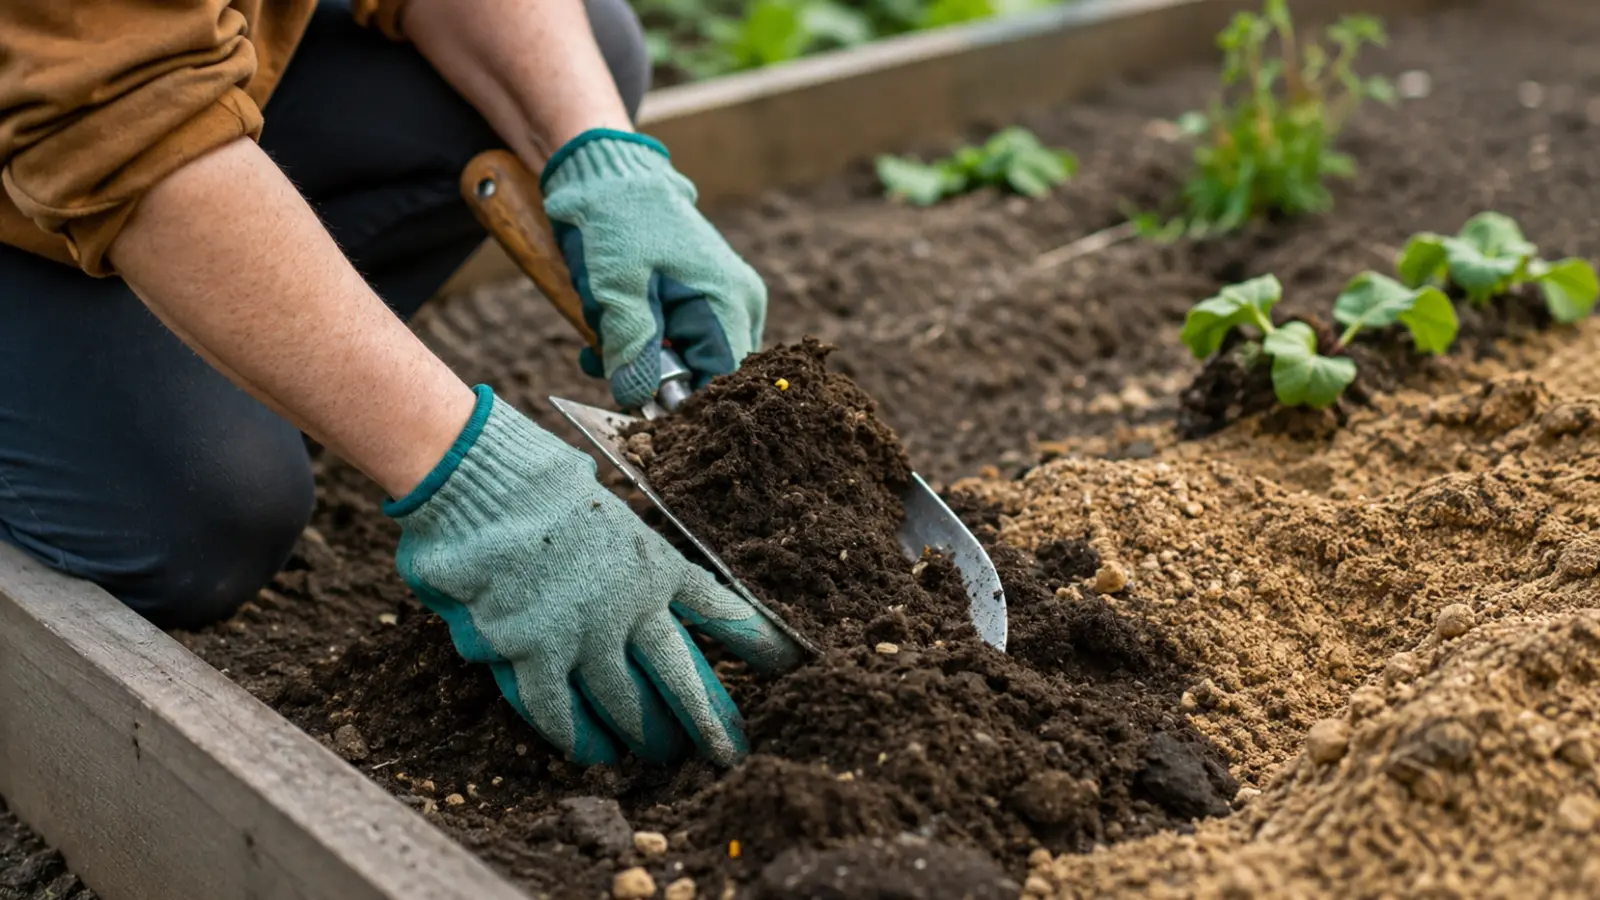
Assess the soil or growing medium before planting. In an in-ground space, look at drainage, compaction and whether roots can enter the soil. A soil test may help when pH or nutrient levels are uncertain. In containers, use a quality potting mix rather than ordinary garden soil, which may drain poorly in a pot.
Improve the growing medium for a reason. Compost or another amendment can be useful in some situations, but adding material without understanding the problem can change drainage or create uneven conditions. If the soil needs deeper diagnosis, continue to the future CULTIVRA Soil cluster.
9. Decide What to Grow
Make a short plant list based on the conditions you observed, the purpose of the garden and the amount of care you can provide. Check light, water, soil, hardiness, mature size and seasonal timing for every plant. Include fewer varieties at first if that makes the garden easier to understand.
This article is about starting a general garden, not designing a specialized vegetable, flower or herb garden. Those subjects deserve their own plant-specific guidance once your basic site and routine are established.
10. Choose Seeds vs. Transplants
Seeds give you more variety and can be a practical choice for plants that are easy to sow directly. Transplants, also called seedlings, provide a more established starting point and may be helpful when the growing season is short or you want to see results sooner.
Choose based on the plant, the season and the care you can give young plants. Do not treat this as a technical seed-starting guide: read the packet or plant tag for depth, spacing and timing, and use local information when frost or temperature affects the decision.
11. Get Only the Essential Tools
You can start with a short tool list:
- a hand trowel for small planting holes;
- gloves for handling soil and plant material;
- a watering can or hose with a gentle setting;
- pruners for suitable small stems;
- a spade or shovel for larger preparation;
- a measuring tape and plant labels.
Buy additional tools when a real task requires them. Clean and dry tools after use, and avoid building an expensive collection before you know how the garden behaves.
Prepare and Plant
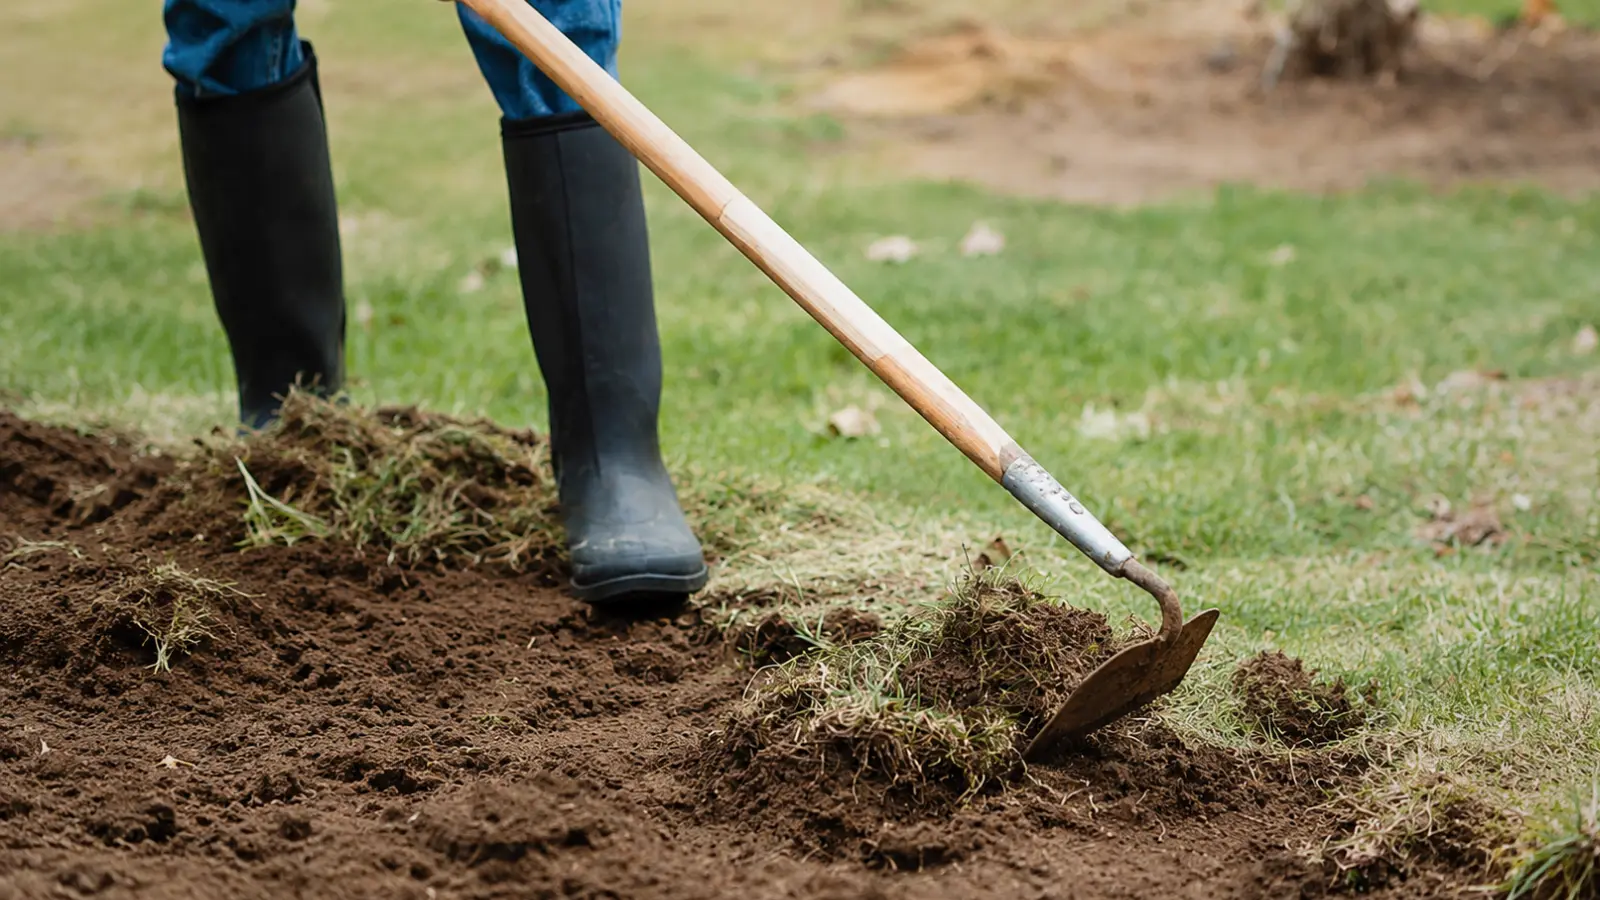
With the plan, plants and tools chosen, prepare the site before bringing plants out. This keeps the planting process calm and reduces the time roots spend exposed.
12. Prepare the Site
Clear the planting area of unwanted growth and debris, define the edges and confirm that the layout still works. Prepare the soil or fill containers with the appropriate growing medium. Set out plants or mark seed locations according to the plan before making every hole.
Do not prepare more area than you can plant and care for. If the site is compacted, poorly drained or difficult to access, solve that practical issue before adding plants.
13. Plant
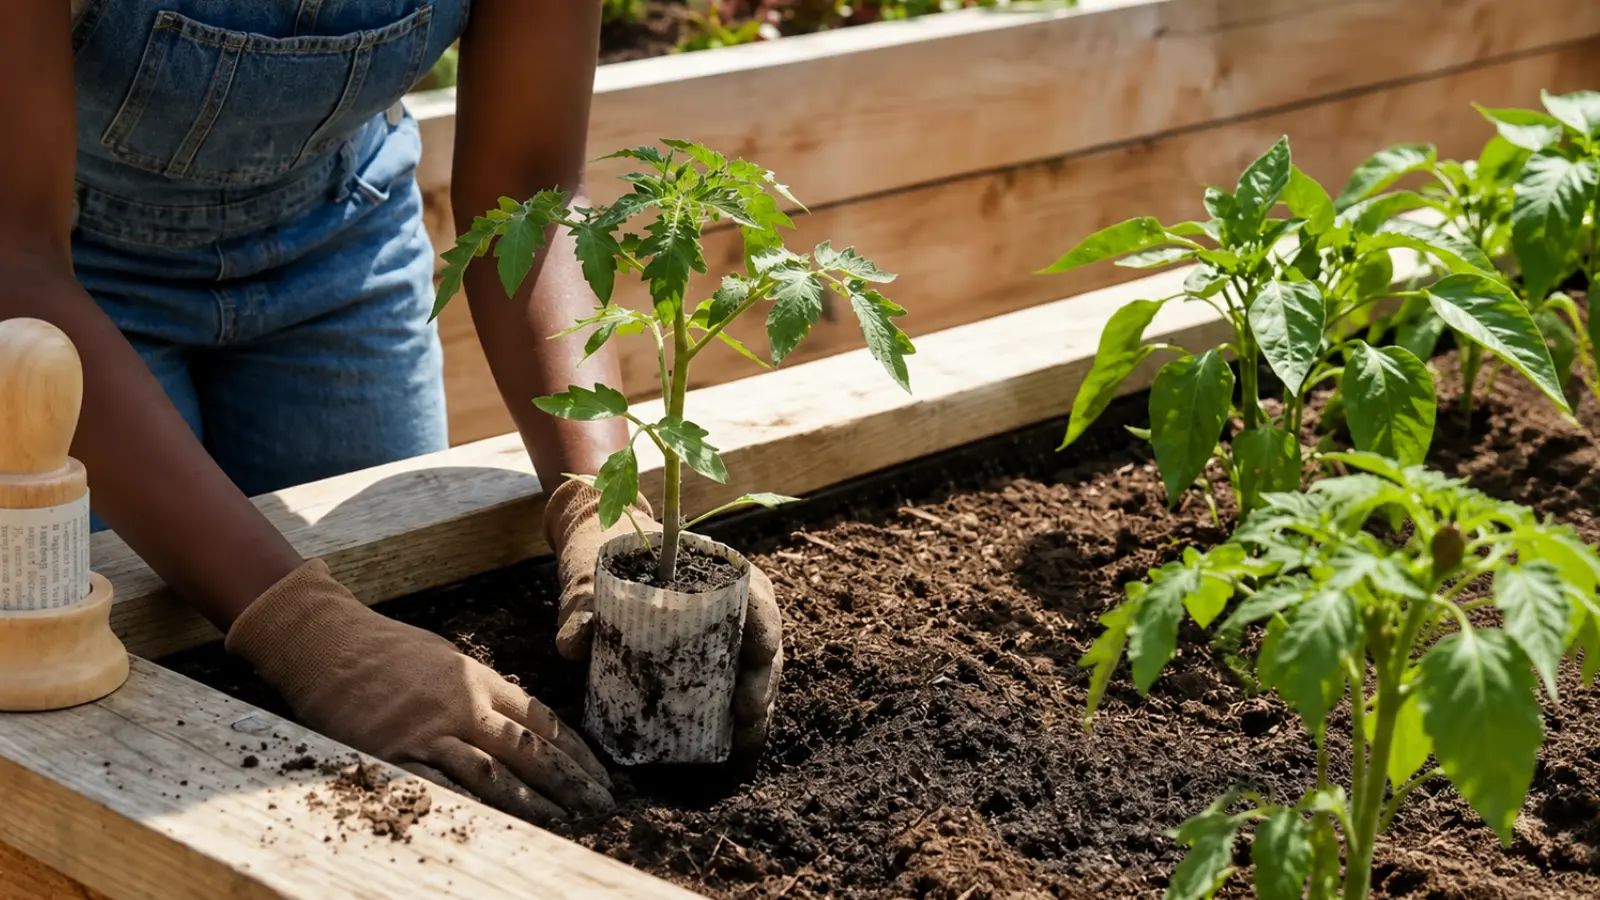
Read the seed packet or plant tag immediately before planting. Check the recommended depth, spacing, light and timing. Place seeds at the stated depth, and set transplants at the appropriate soil level for that species. Avoid burying stems or trunks unless the plant’s instructions specifically call for it.
Make a hole wide enough for a transplant’s root ball, position it without folding or crushing the roots and firm the surrounding soil gently. Label what you planted and record the date. For the complete process, use Planting a Garden.
14. Water Correctly
Water after planting so the surrounding soil settles around the roots or seed. Apply water gently and aim to moisten the root zone rather than creating runoff. Newly planted plants need closer monitoring while their roots establish, but the correct frequency depends on the plant, soil, container, weather and recent rainfall.
Check the soil before watering again. A wet surface does not prove that the roots have received enough moisture, and a dry surface does not always mean the deeper root zone is dry. Adjust your approach as conditions change.
15. Mulch if Appropriate
Mulch can help moderate soil moisture and temperature and reduce weed pressure, but it is not required for every garden. If you use it, apply it as a surface layer and keep it away from stems and trunks. Do not use mulch to hide poor drainage, planting too deeply or soil that needs a different solution.
Care After Planting
The first weeks are about establishment, not constant intervention. Give the garden a small routine that helps you notice what is happening without making care feel like a second job.
16. Create a Simple Weekly Routine
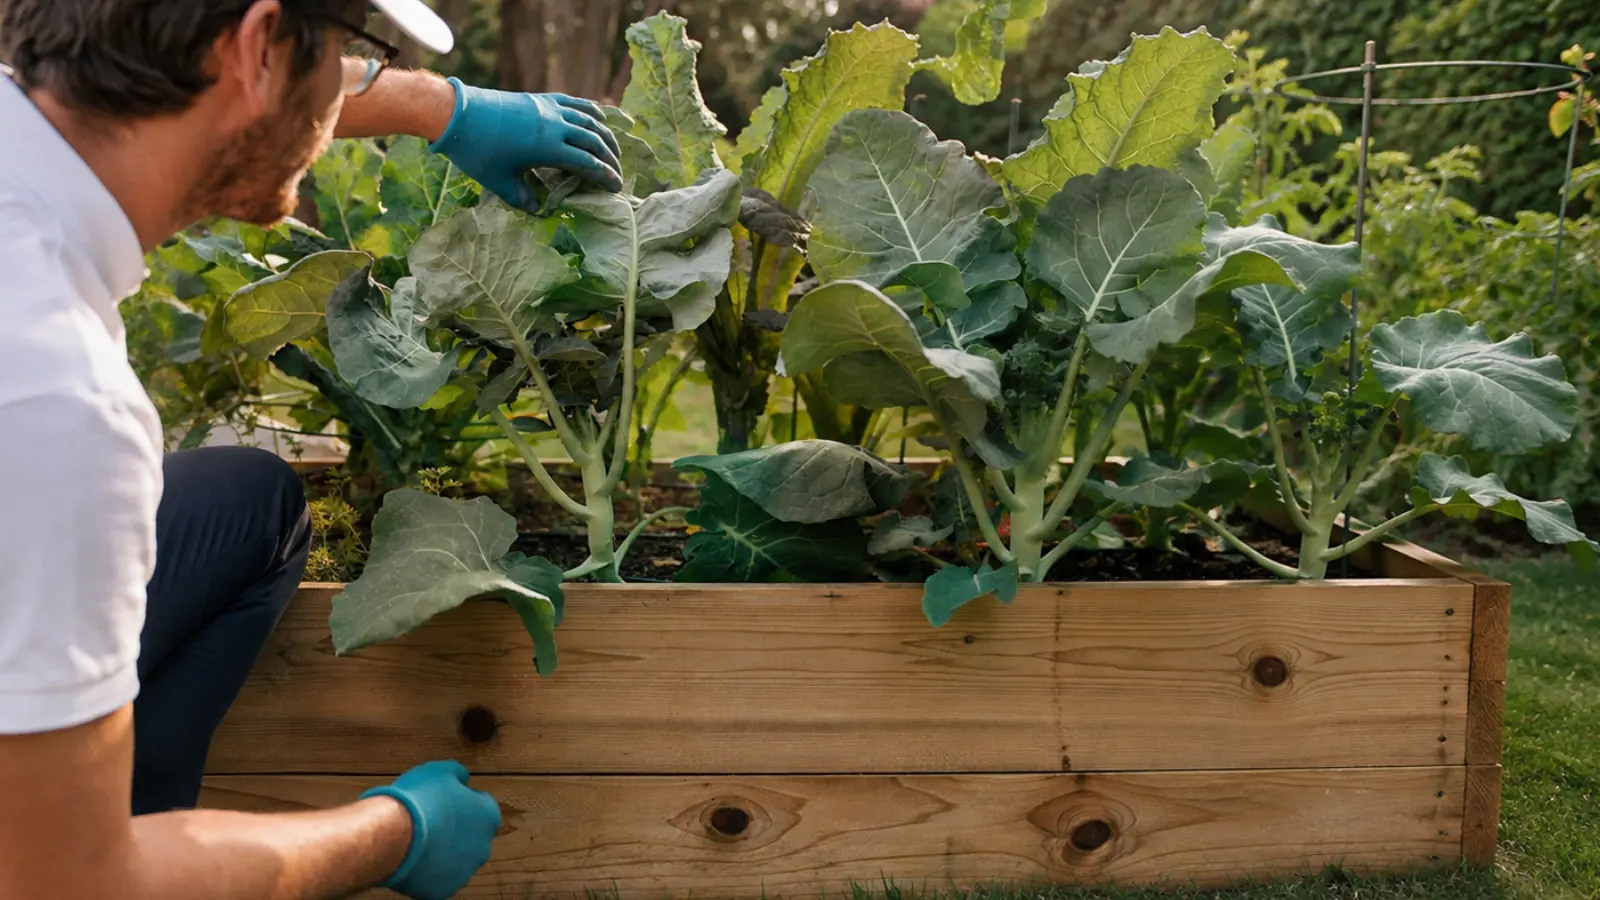
Choose one or two regular times each week to walk through the garden. Check soil moisture, new growth, damaged leaves, weeds, supports and access. Water when conditions require it, remove small weeds and address obvious problems while they are still manageable.
A routine should be flexible after heat, wind, heavy rain or a sudden temperature change. It is a prompt to observe, not a promise that every garden needs the same tasks on the same day.
17. Track What Works
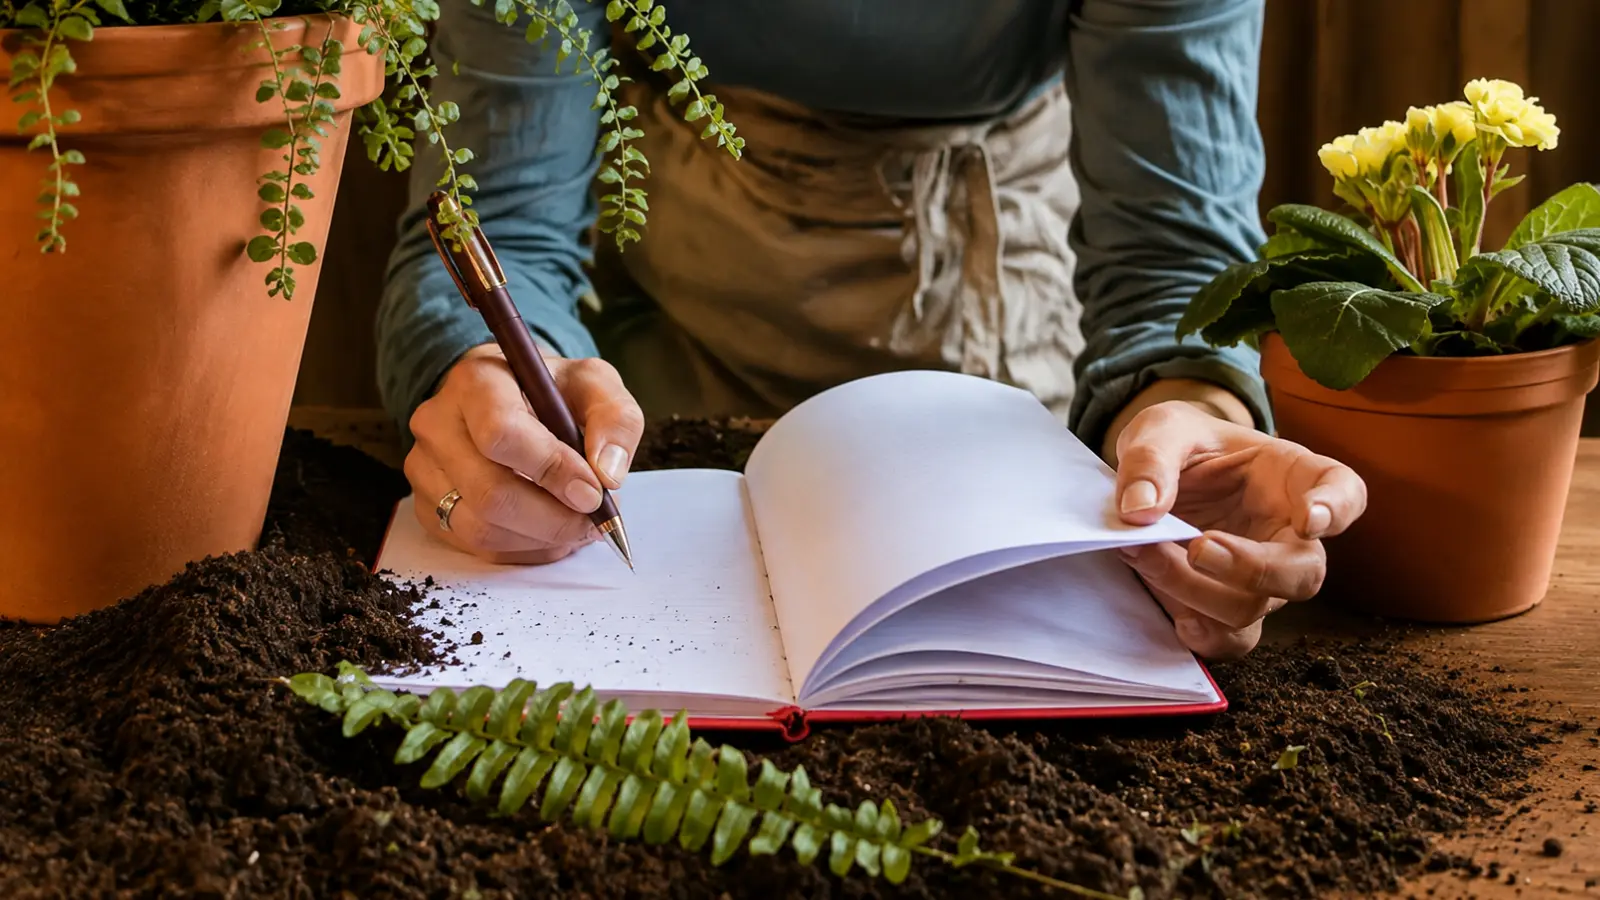
Record planting dates, plant names, weather events, watering changes and results. A simple notebook or phone note is enough. These records help you remember which areas stayed wet, which plants handled the light and which decisions you would change next season.
Tracking also prevents you from treating one unusual week as a permanent rule. Your garden’s history becomes a more useful reference than a generic schedule.
18. Know When to Expand
Expand when the first garden is manageable, not simply when you have found more plants you like. Before adding space, ask whether you can maintain the existing area during the busiest part of the season, whether watering is convenient and whether you understand the site’s main limitations.
Expansion can mean adding one container, extending a bed or trying a new plant—not doubling the entire project. Let the first garden earn its next stage.
The 18 Steps at a Glance
Use this table as a printable starting checklist. Each step has a specific job in the sequence, so you can see what needs to happen before moving on.
| Step | Decision | Beginner Rule | Next Detailed Guide |
|---|---|---|---|
| 1 | Garden purpose | Choose a purpose you will care about. | Gardening for Beginners |
| 2 | Garden size | Start with an area you can maintain. | Gardening Tips |
| 3 | Location | Choose a place you can reach and observe. | How to Plan a Garden |
| 4 | Sun and drainage | Observe conditions before buying plants. | Garden Layout |
| 5 | Climate and timing | Use zone, frost and local guidance together. | When to Start a Garden |
| 6 | Garden format | Choose in-ground, raised bed, containers or mixed. | Future Garden Beds Guide |
| 7 | Basic plan | Draw access, water and planting areas first. | How to Plan a Garden |
| 8 | Growing medium | Fix a real soil or drainage issue with purpose. | Future Soil Guide |
| 9 | Plants | Match plants to light, climate, space and care. | Future Plant Library |
| 10 | Seeds or transplants | Choose the option that fits the plant and season. | Future Seeds Guide |
| 11 | Tools | Buy only what the first project requires. | Future Tool Guides |
| 12 | Site preparation | Prepare only the area you can plant and care for. | Gardening Tips |
| 13 | Planting | Follow depth, spacing and soil-level instructions. | Planting a Garden |
| 14 | Watering | Check root-zone moisture and adjust to conditions. | Planting a Garden |
| 15 | Mulch | Use it appropriately and keep it from stems. | Future Garden Care Guide |
| 16 | Weekly routine | Observe regularly without following a rigid script. | Gardening Tips |
| 17 | Records | Track dates, conditions and results. | Future Garden Journal Guide |
| 18 | Expansion | Add space only when the first garden is manageable. | How to Plan a Garden |
If you need a visual plan for beds, paths and dimensions, continue to the Free Garden Planner. The tool should support this sequence, not replace the observations that make the plan realistic.
Build the First Garden You Can Actually Maintain
A good first garden does not need to be large, elaborate, or filled all at once. Start with a purpose you care about, a space you understand, and plants that fit the sunlight, climate, soil, and amount of attention you can realistically provide.
Then use the first season as information. Notice what grows well, where water collects, which areas are easiest to maintain, and what you would change next time. Expand only when the garden you already have feels manageable, and each new step will be based on experience rather than guesswork.
COMMON QUESTIONS
Before you begin.
What is the easiest way to start a garden for beginners?
Start with a small, accessible area that you can realistically water, weed and observe. Check the site’s sunlight, drainage and water access before choosing plants, then select varieties suited to those conditions. A manageable first garden makes it easier to learn what works before expanding.
What do I need to start a garden from scratch?
You need a suitable location, plants or seeds, an appropriate growing medium, reliable water access and a few basic tools such as a hand trowel, gloves and a watering can or hose. The exact materials depend on whether you choose an in-ground garden, raised bed, containers or a combination.
How do I choose the best location for a new garden?
Choose a location that is easy to reach, water and monitor. Observe how much direct sunlight it receives throughout the day, how well water drains after rain and whether nearby trees, buildings, wind or foot traffic affect the space. The best location is one whose conditions match the plants you want to grow.
When is the best time to start a garden?
The best time depends on your location, climate and the plants you want to grow. Check local frost dates, current temperatures and plant-specific requirements instead of relying on a single national planting date. Planning and site preparation can often begin well before outdoor planting conditions are suitable.
Should beginners start a garden with seeds or seedlings?
Either option can work. Seeds usually offer more variety and may cost less, while seedlings provide a more established plant and can shorten the time to visible growth. Choose according to the plant, your local growing season and how much time and attention you can give young plants.
What should I do after planting a new garden?
Water newly planted seeds or transplants gently and monitor the root zone as they establish. Check the garden regularly for soil moisture, new growth, weeds, damage and changing weather conditions. Keep simple records of planting dates and results, and expand the garden only after the first area is manageable within your normal routine.